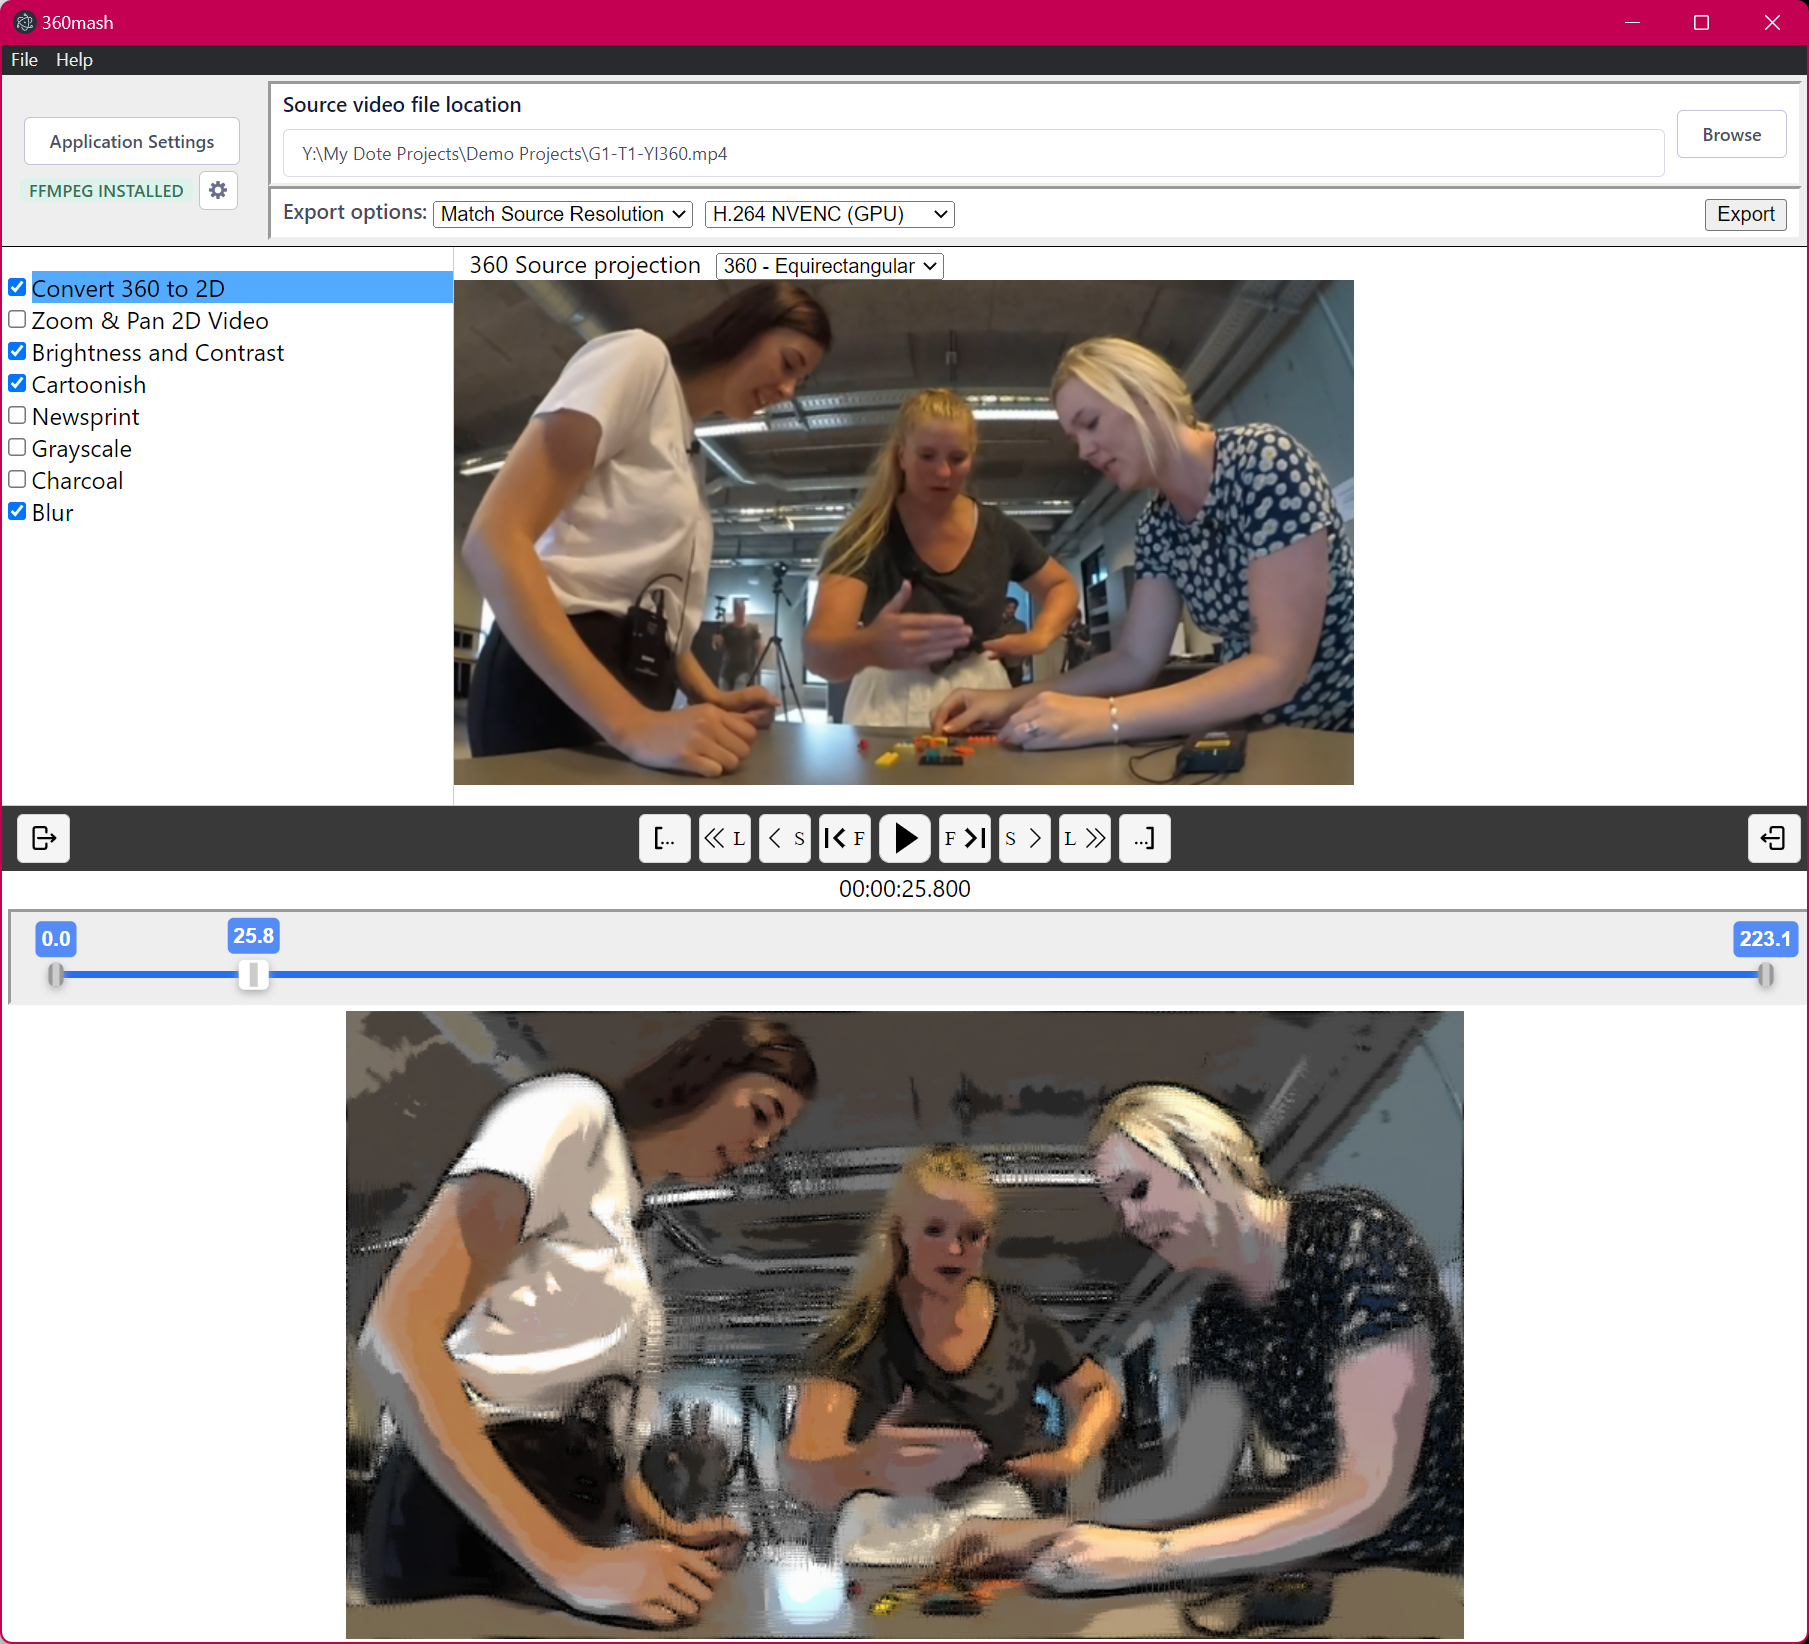
360mash is an open source project to develop a free, cross-platform, lightweight tool for clipping, reframing and anonymising 2D, 180 and 360 videos and exporting the resulting video as fast as possible. The tool is primarily aimed at researchers using qualitative video-based methods, but can be used by anyone working with video.
The tool can accomplish a range of transformations of a video file, such as:
- Import a 2D, 180 or 360 video and export a clip, ie. a trimmed, shorter version.
- Import a 180 or 360 video and export a clip that retains the original equirectangular format.
- Import a 180 or 360 video and export a reframing of the video as a 2D video.
- Import a video and apply basic filters to anonymise the video.
- Import a 2D, 180 or 360 video and export at a different resolution.
- Zoom in and pan a 180 or 360 video to find the best view in the scene for export.
- Zoom in and pan a 2D video to find the best view for export.
- Real-time playback of the video with transforms and filters applied.
- Export the desired result to a standard H.264 video file using the CPU or GPU (faster).
Please appreciate that the software is in beta, the user interface is primitive, and sometimes it will fail unexpectedly. We hope that the project will be picked up and developed by the open source community on its public code repository.
A video tutorial is available on YouTube.
How to download and install
The beta software package can be downloaded from our webshop or from the release page on GitHub.
- There is an installation package for Windows 10/11 and two for Apple macOS.
- In addition to the Intel (osx) package, there is a package specially for Apple Silicon (arm).
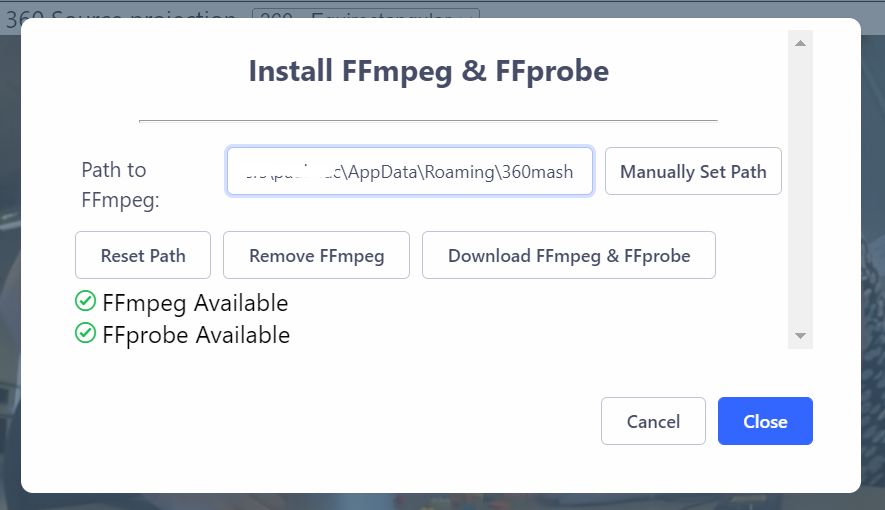
Install FFmpeg
The open-source software package FFmpeg is required for 360mash to work.
- You may already have
FFmpeginstalled on your computer. - It is often installed with common video players, eg. VLC, and with our other software, eg. DOTE. Search for "ffmpeg.exe" on your computer.
- If you find it, open the Application Settings (click button) on the top left of the window, browse to the folder by clicking on
Manually Set Path, eg. "C:\ffmpeg" on Windows or "/usr/local/bin/ffmpeg/" on MacOS.
If you do not have it already installed, then you can let 360mash download it and set it up for you.
- Open the Application Settings (click button) and select
Download FFmpeg & FFprobe. - The software will be downloaded and the status will change to "FFmpeg available" and "FFprobe available".
- The FFmpeg applications will be stored in the 360mash application folder.
How to import video
Select Browse in the Source video file location panel at the top right of the window.
- Locate the video on your file system and import.
Most video formats can be imported into the tool:
- The following extensions are expected: "mp4", "webm", "mov", "avi", "mkv", "flv", "wmv".
- 360 video files should be in equirectangular format.
- 180 video files should be in fisheye format.
- Only monoscopic 180 and 360 video can be mashed.
- The video will play auotmatically after import.
- Remember to set your 360 video format to the correct type in the
360 Source projectiondropdown menu. - If the video is 2D, then always deselect the
Convert 360 to 2Dfilter.
How to view video
After import, the top video panel will show the source video only when the Convert 360 to 2D or Zoom & Pan 2D video transform is selected and toggled on.
Make sure that the correct transform is selected and toggled on, eg. Convert 360 to 2D is for 180 and 360 videos only.
The bottom video panel shows a preview of the output video, ie. the source video with any reframing or filtering applied.
How to play a video
Use the play transport buttons to play the video:
- Use the play button to play and pause the video.
- Use the
1<F/´F>1buttons to go backward/forward one frame (this is sometimes not frame accurate). - Use the
< s/s >buttons to leap backward/forward one second. - Use the
<< L/L >>buttons to leap backward/forward four seconds. - Use the
[-/-]buttons to jump to the IN/OUT points that have been set (default is first and last frame of video). - The playhead timestamp on the timeline is shown to the nearest 0.1s. The actual frame-accurate timestamp is shown below the play controls.
Hover over the buttons to show the keyboard shortcuts.
How to clip your video
One can set a start (IN) timestamp and an end (OUT) timestamp for a clip to be exported. As a result the video time length is shortened when exported.
- Select a video frame by playing and pausing or by dragging the playhead.
- Fine adjustments can be made with the jump single frame buttons
1<F/´F>1. - The exact timestamp can be seen underneath the play controls.
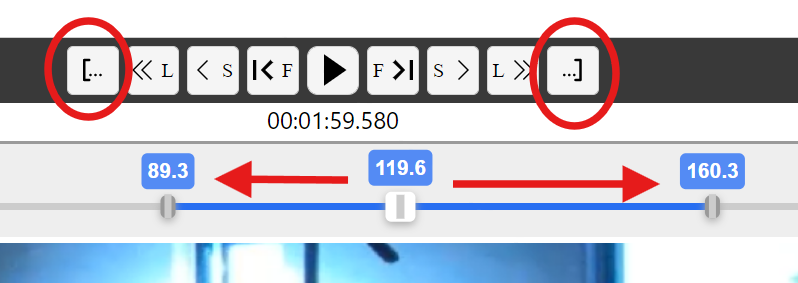
- Click the
[->button at the far left of the play transport controls to set the IN point. - Click the
<-]button at the far right of the play transport controls to set the OUT point.
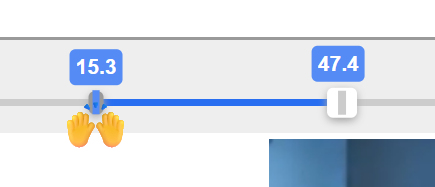
- Alternatively, drag the IN/OUT icon handles along the timeline. This is not so accurate as IN/OUT timestamps are shown on the timeline to the nearest 0.1s. The actual current timestamp is shown below the play controls.
- The playhead can be moved to the IN or OUT point using the
[-/-]buttons.
The clip is now ready for exporting (see below).
How to transform your 2D video
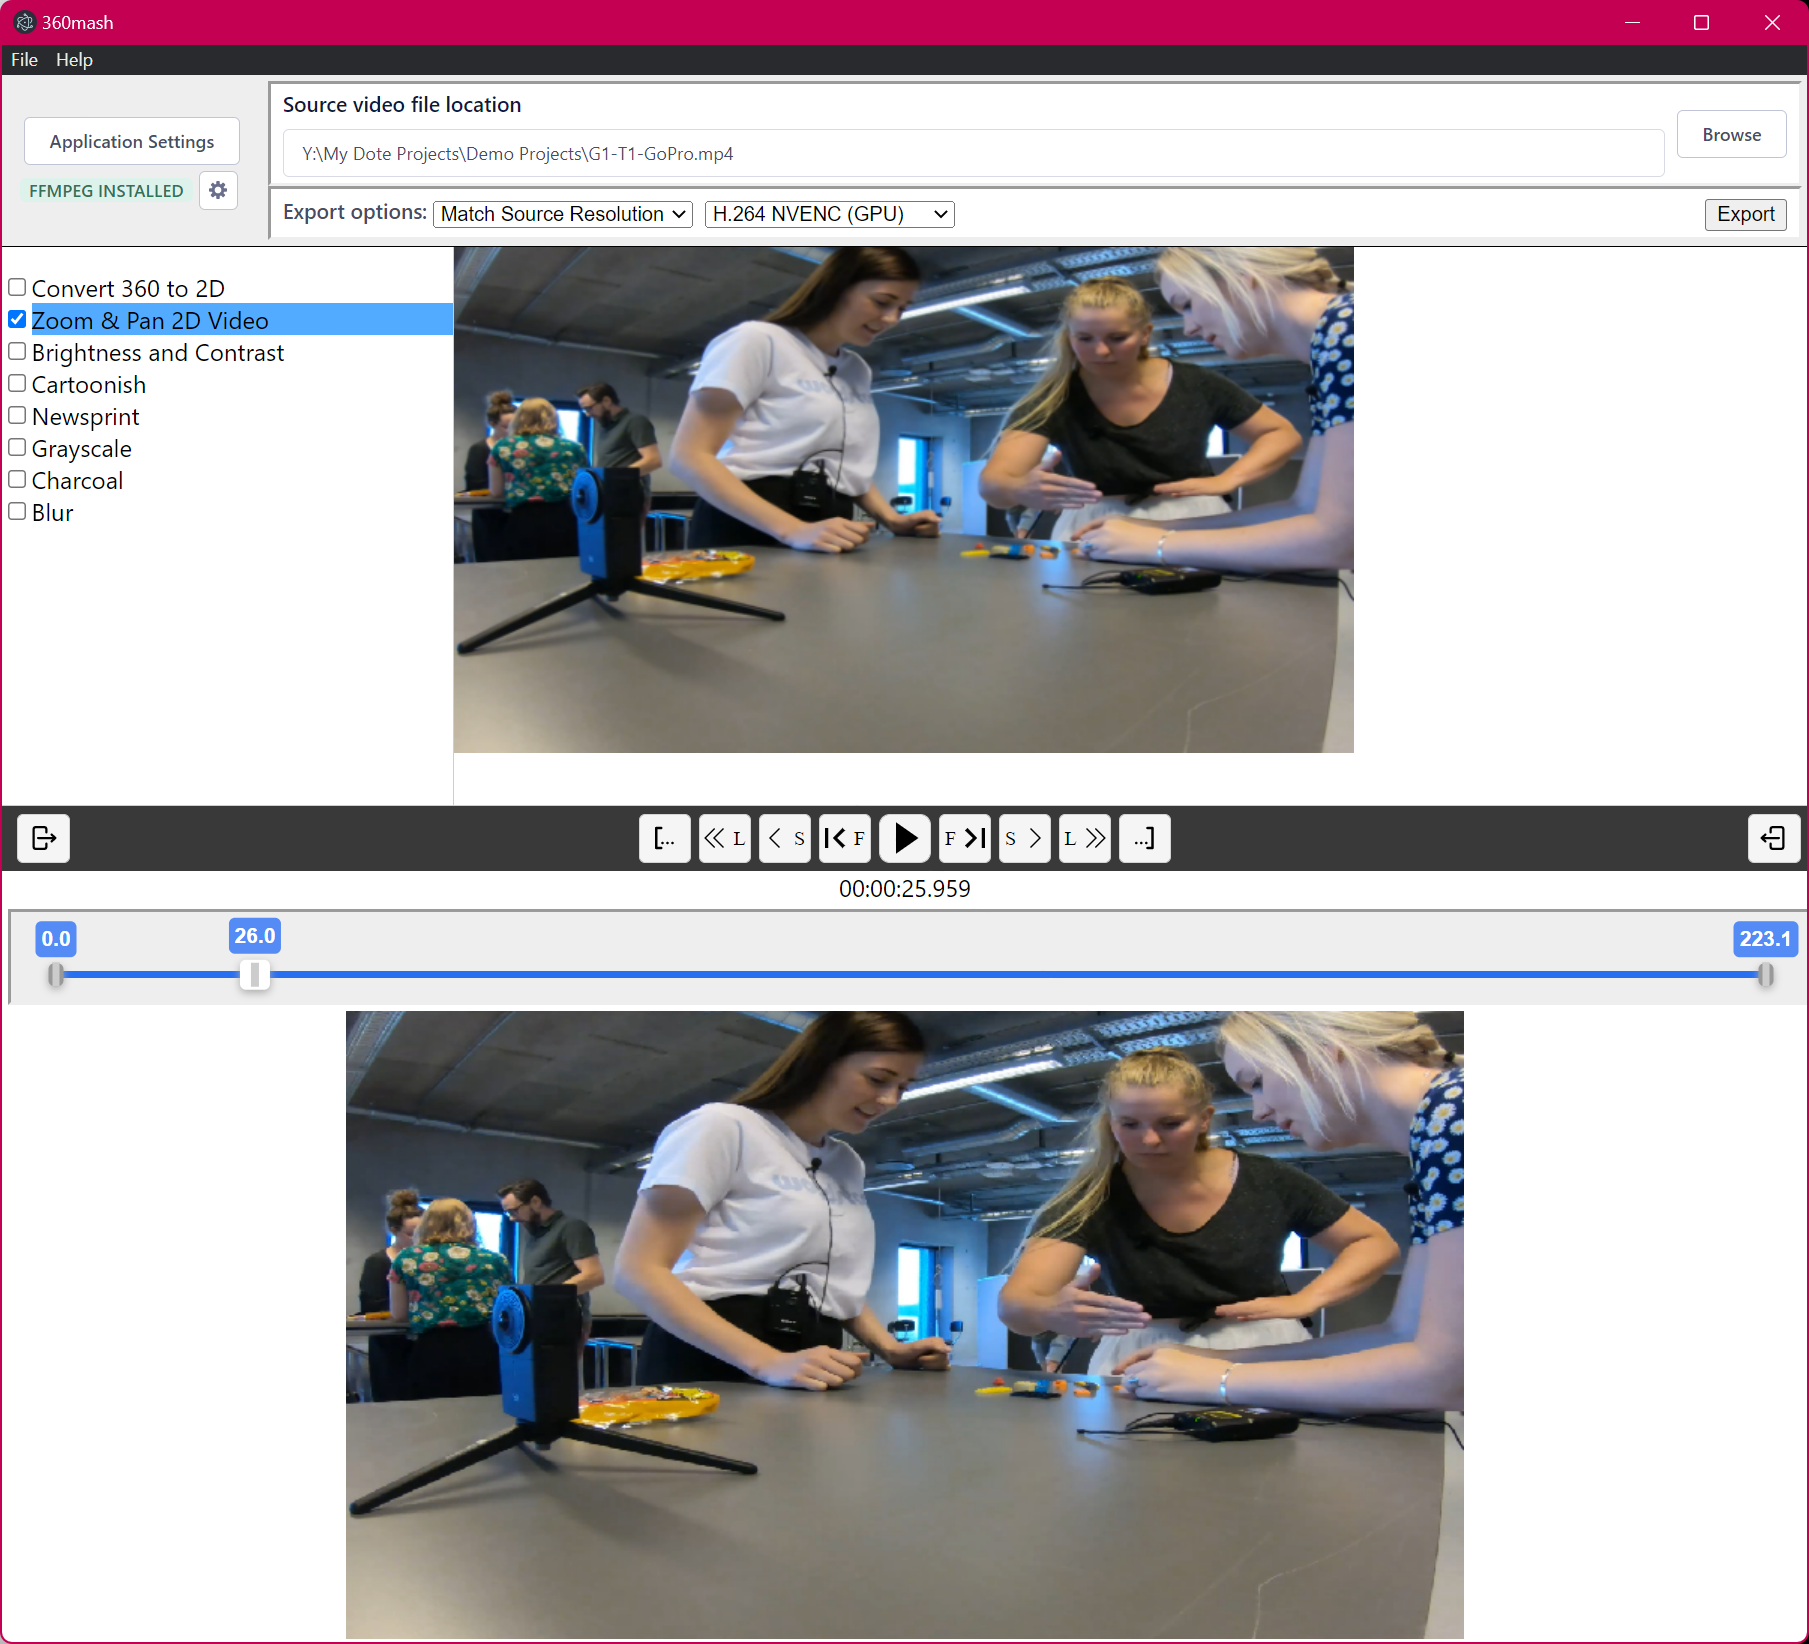
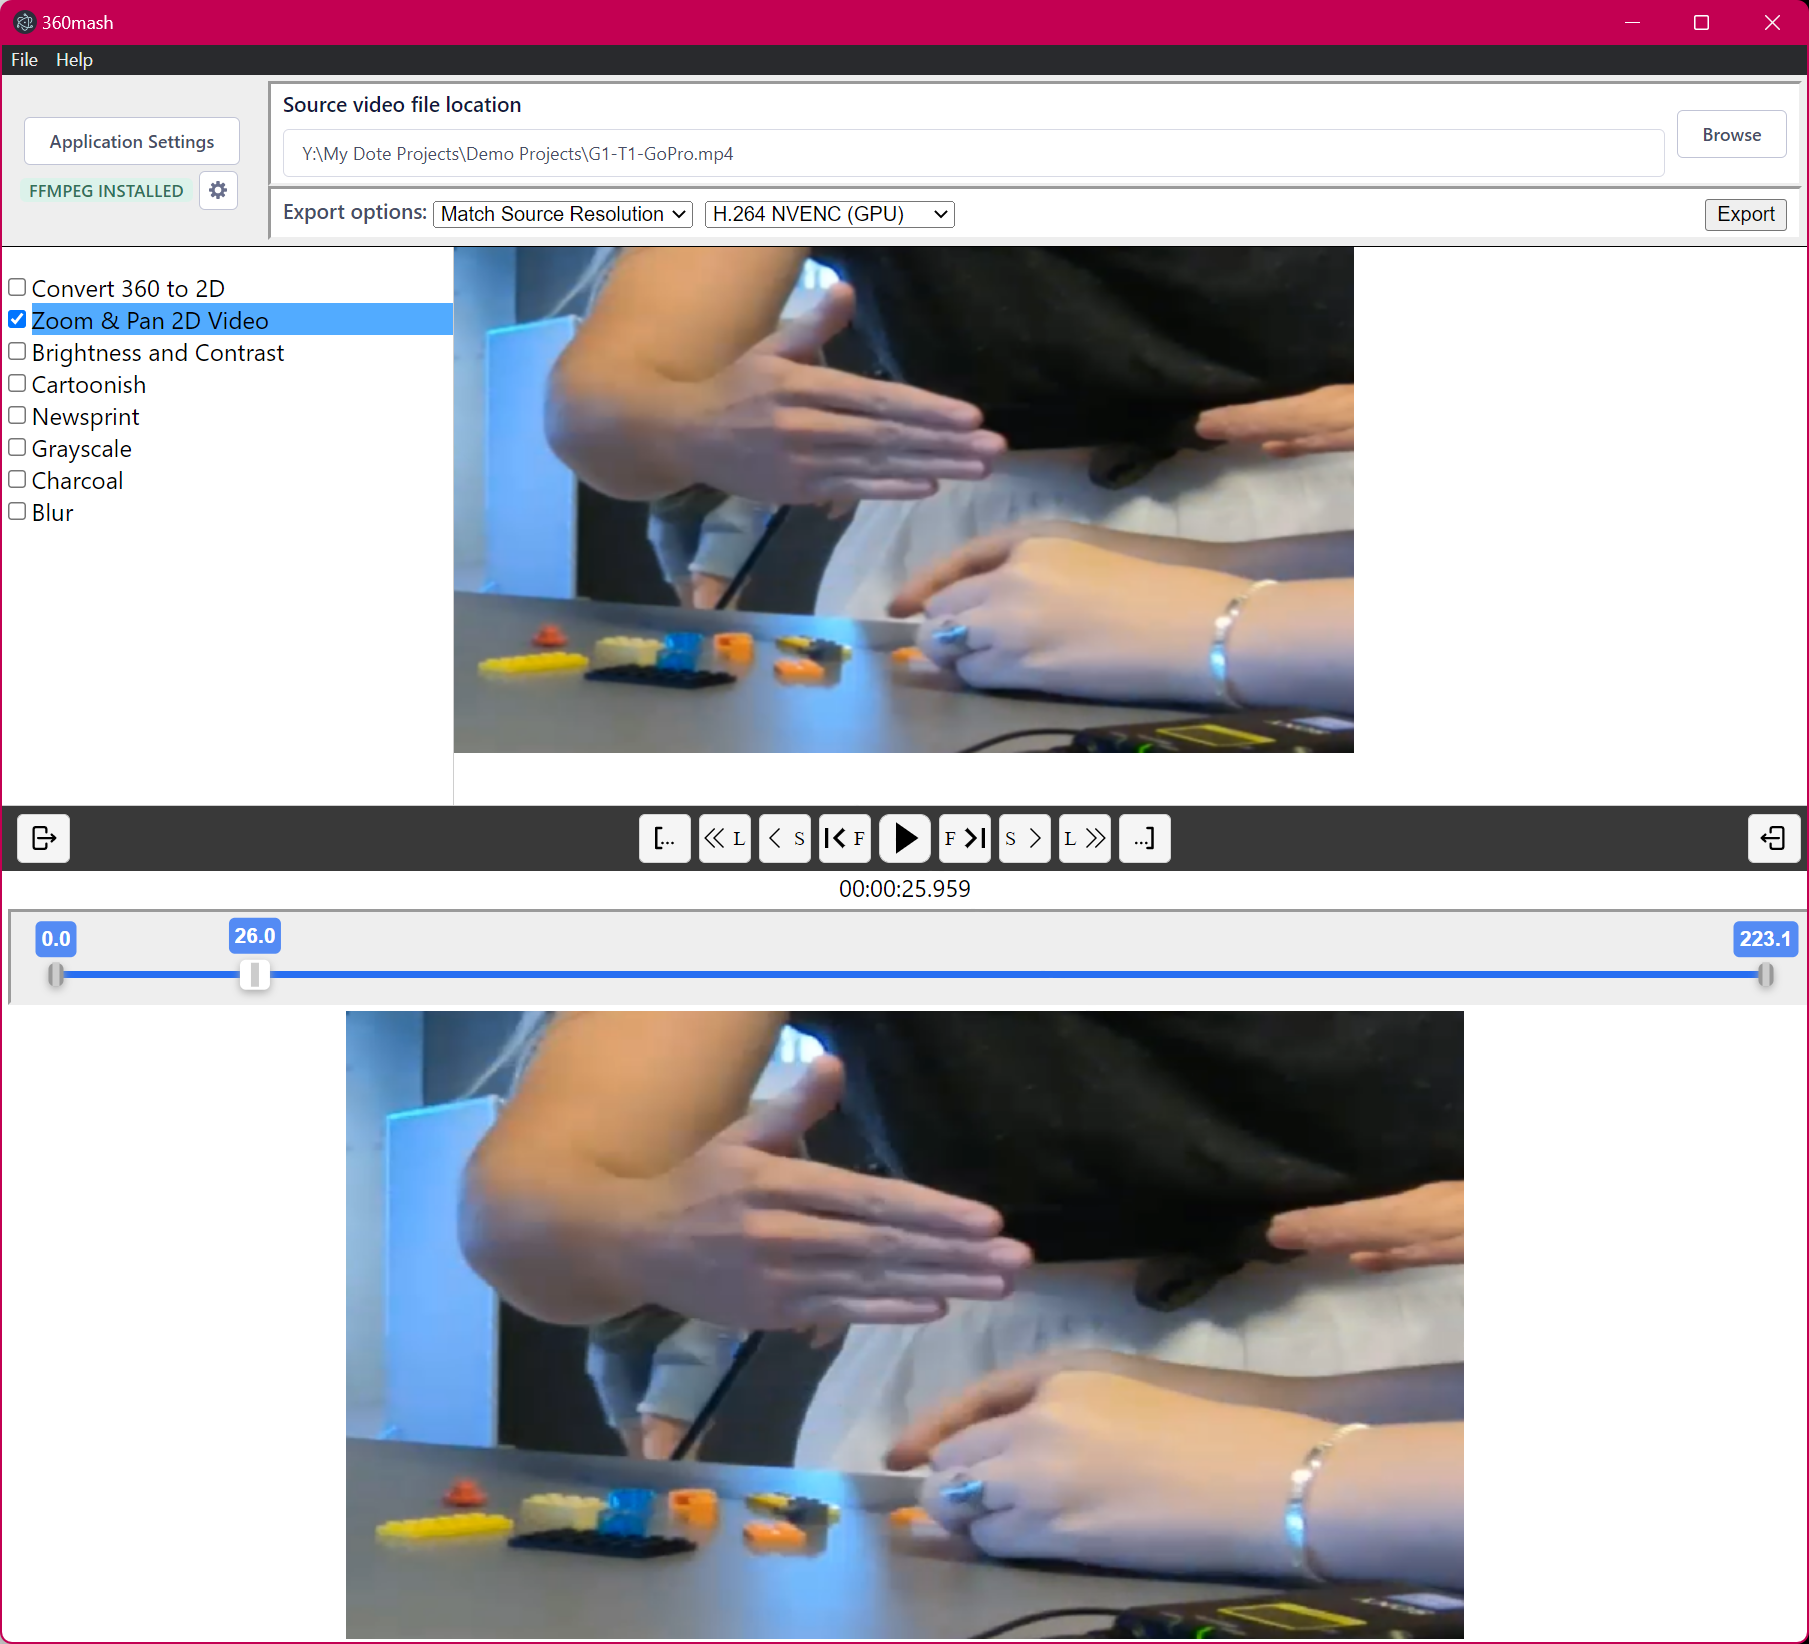
Selecting Zoom & Pan 2D video will zoom/pan a 2D video:
- Reframing (or recamming) is when a specific rectangular view of the whole 360 video is selected and the rest of the video is ignored.
- Use the zoom scoll wheel/bar on your mouse or two fingers on the trackpad to zoom in and out.
- Click in the video frame and drag to pan the view if zoomed in.
- The bottom panel shows the resulting reframed video, which can be replayed in real-time.
How to transform your 180 or 360 video
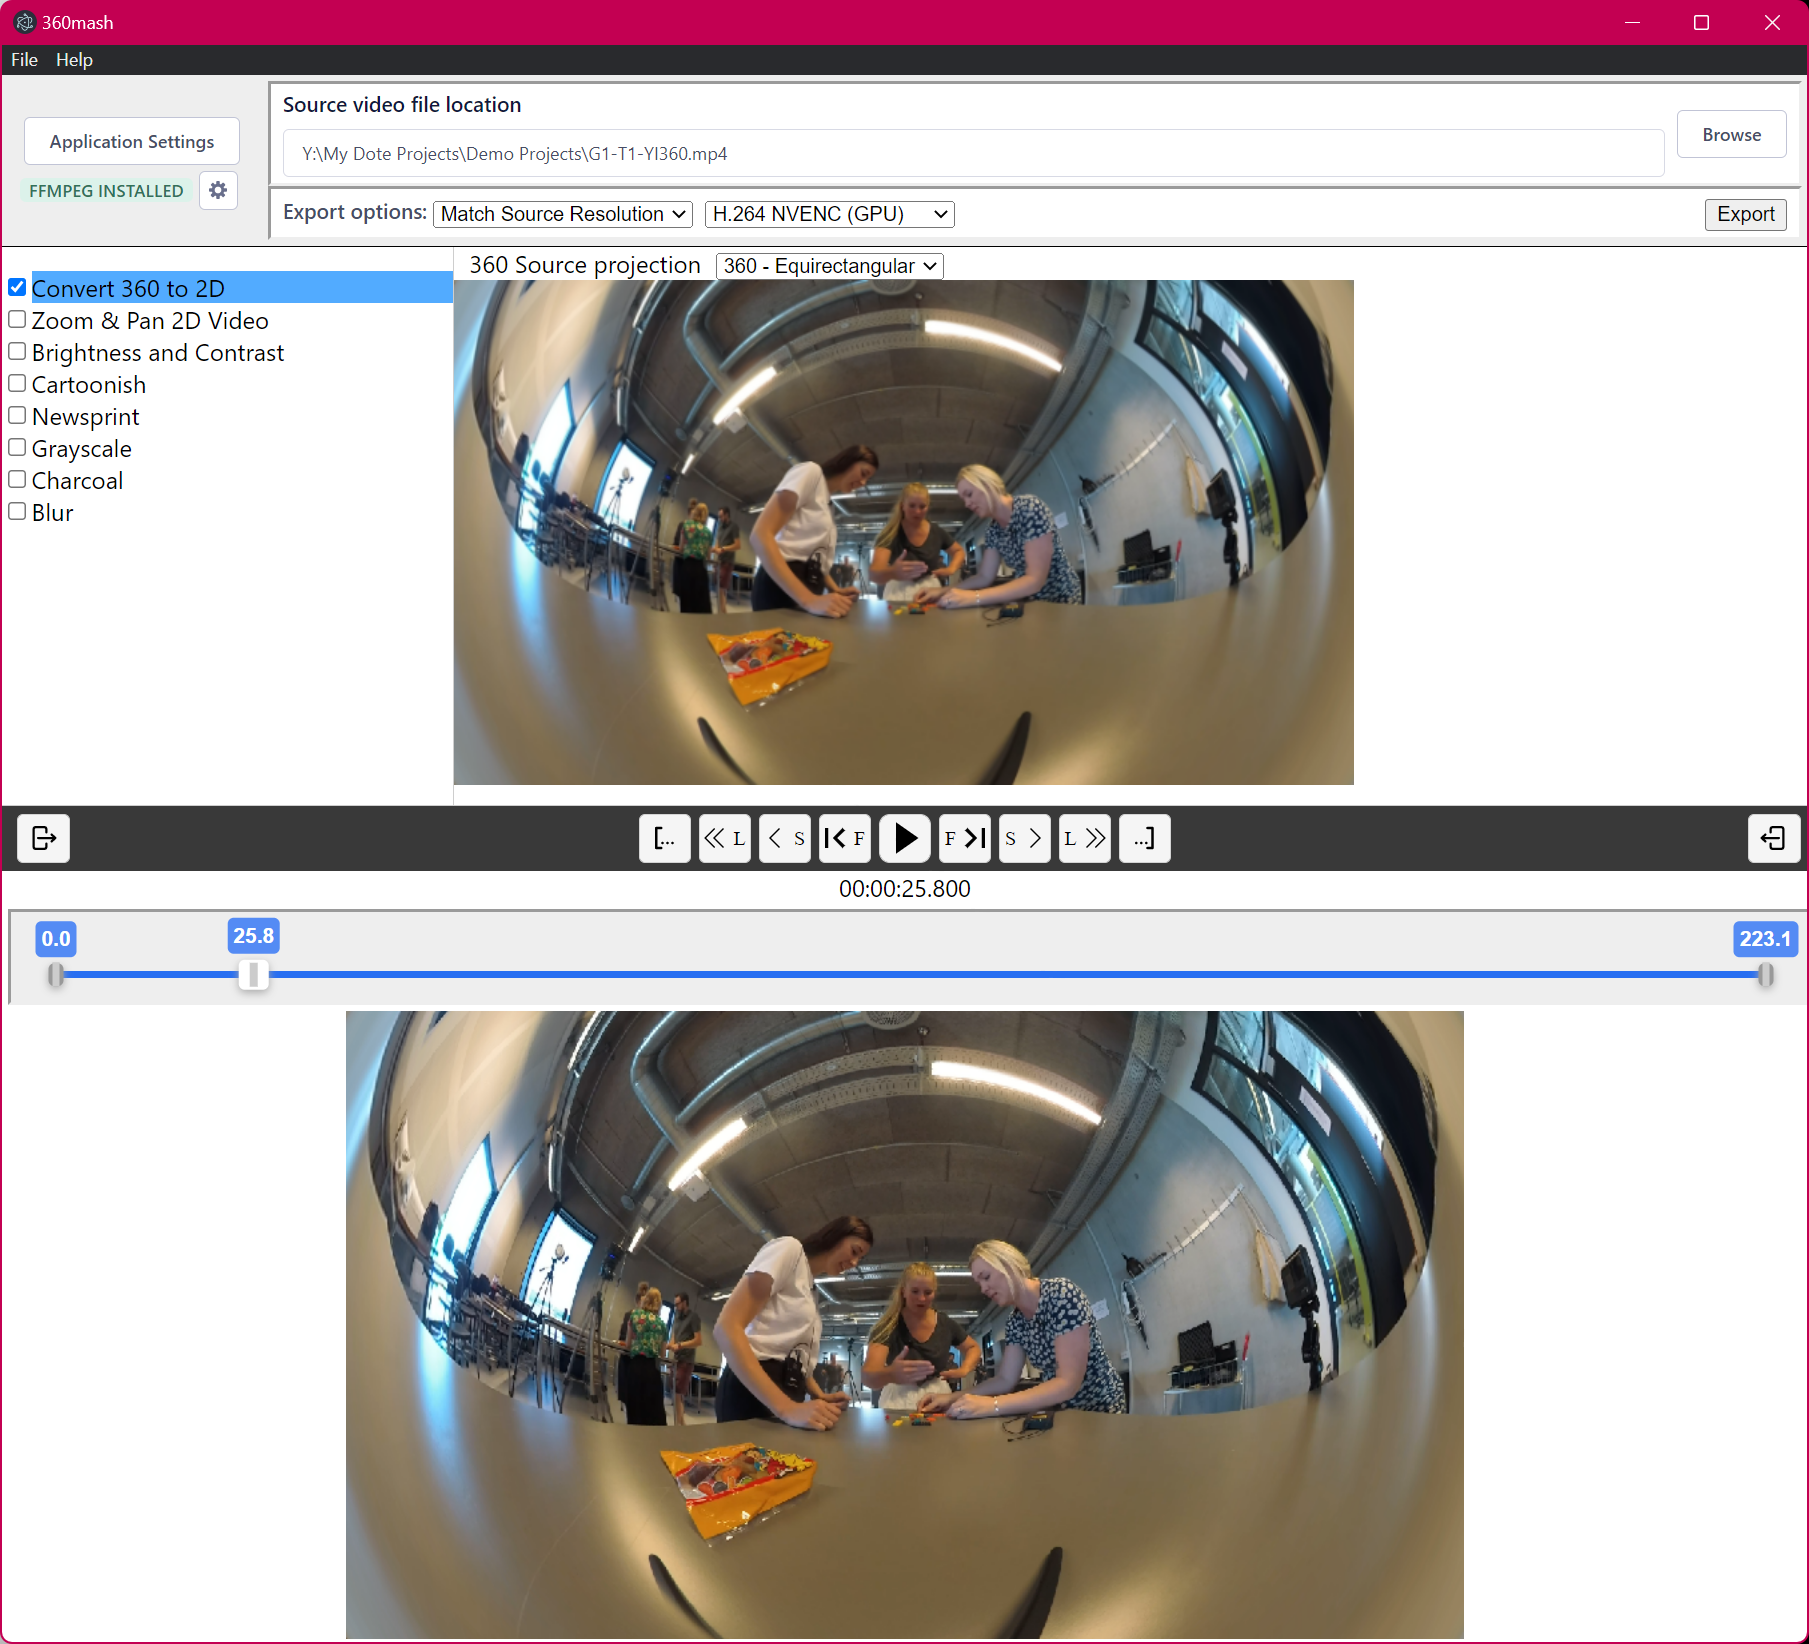
Selecting Convert 360 to 2D will convert a 180 or 360 video into a 2D video with the chosen view:
- Reframing (or recamming) is when a specific rectangular view of the whole 360 video is selected and the rest of the video is ignored.
- Use the zoom scoll wheel/bar on your mouse or two fingers on the trackpad to zoom in and out.
- Click in the video frame and drag to pan the view.
- The bottom panel shows the resulting reframed video, which can be replayed in real-time.
How to anonymise your video
There are a number of basic filters available to anonymise your video:
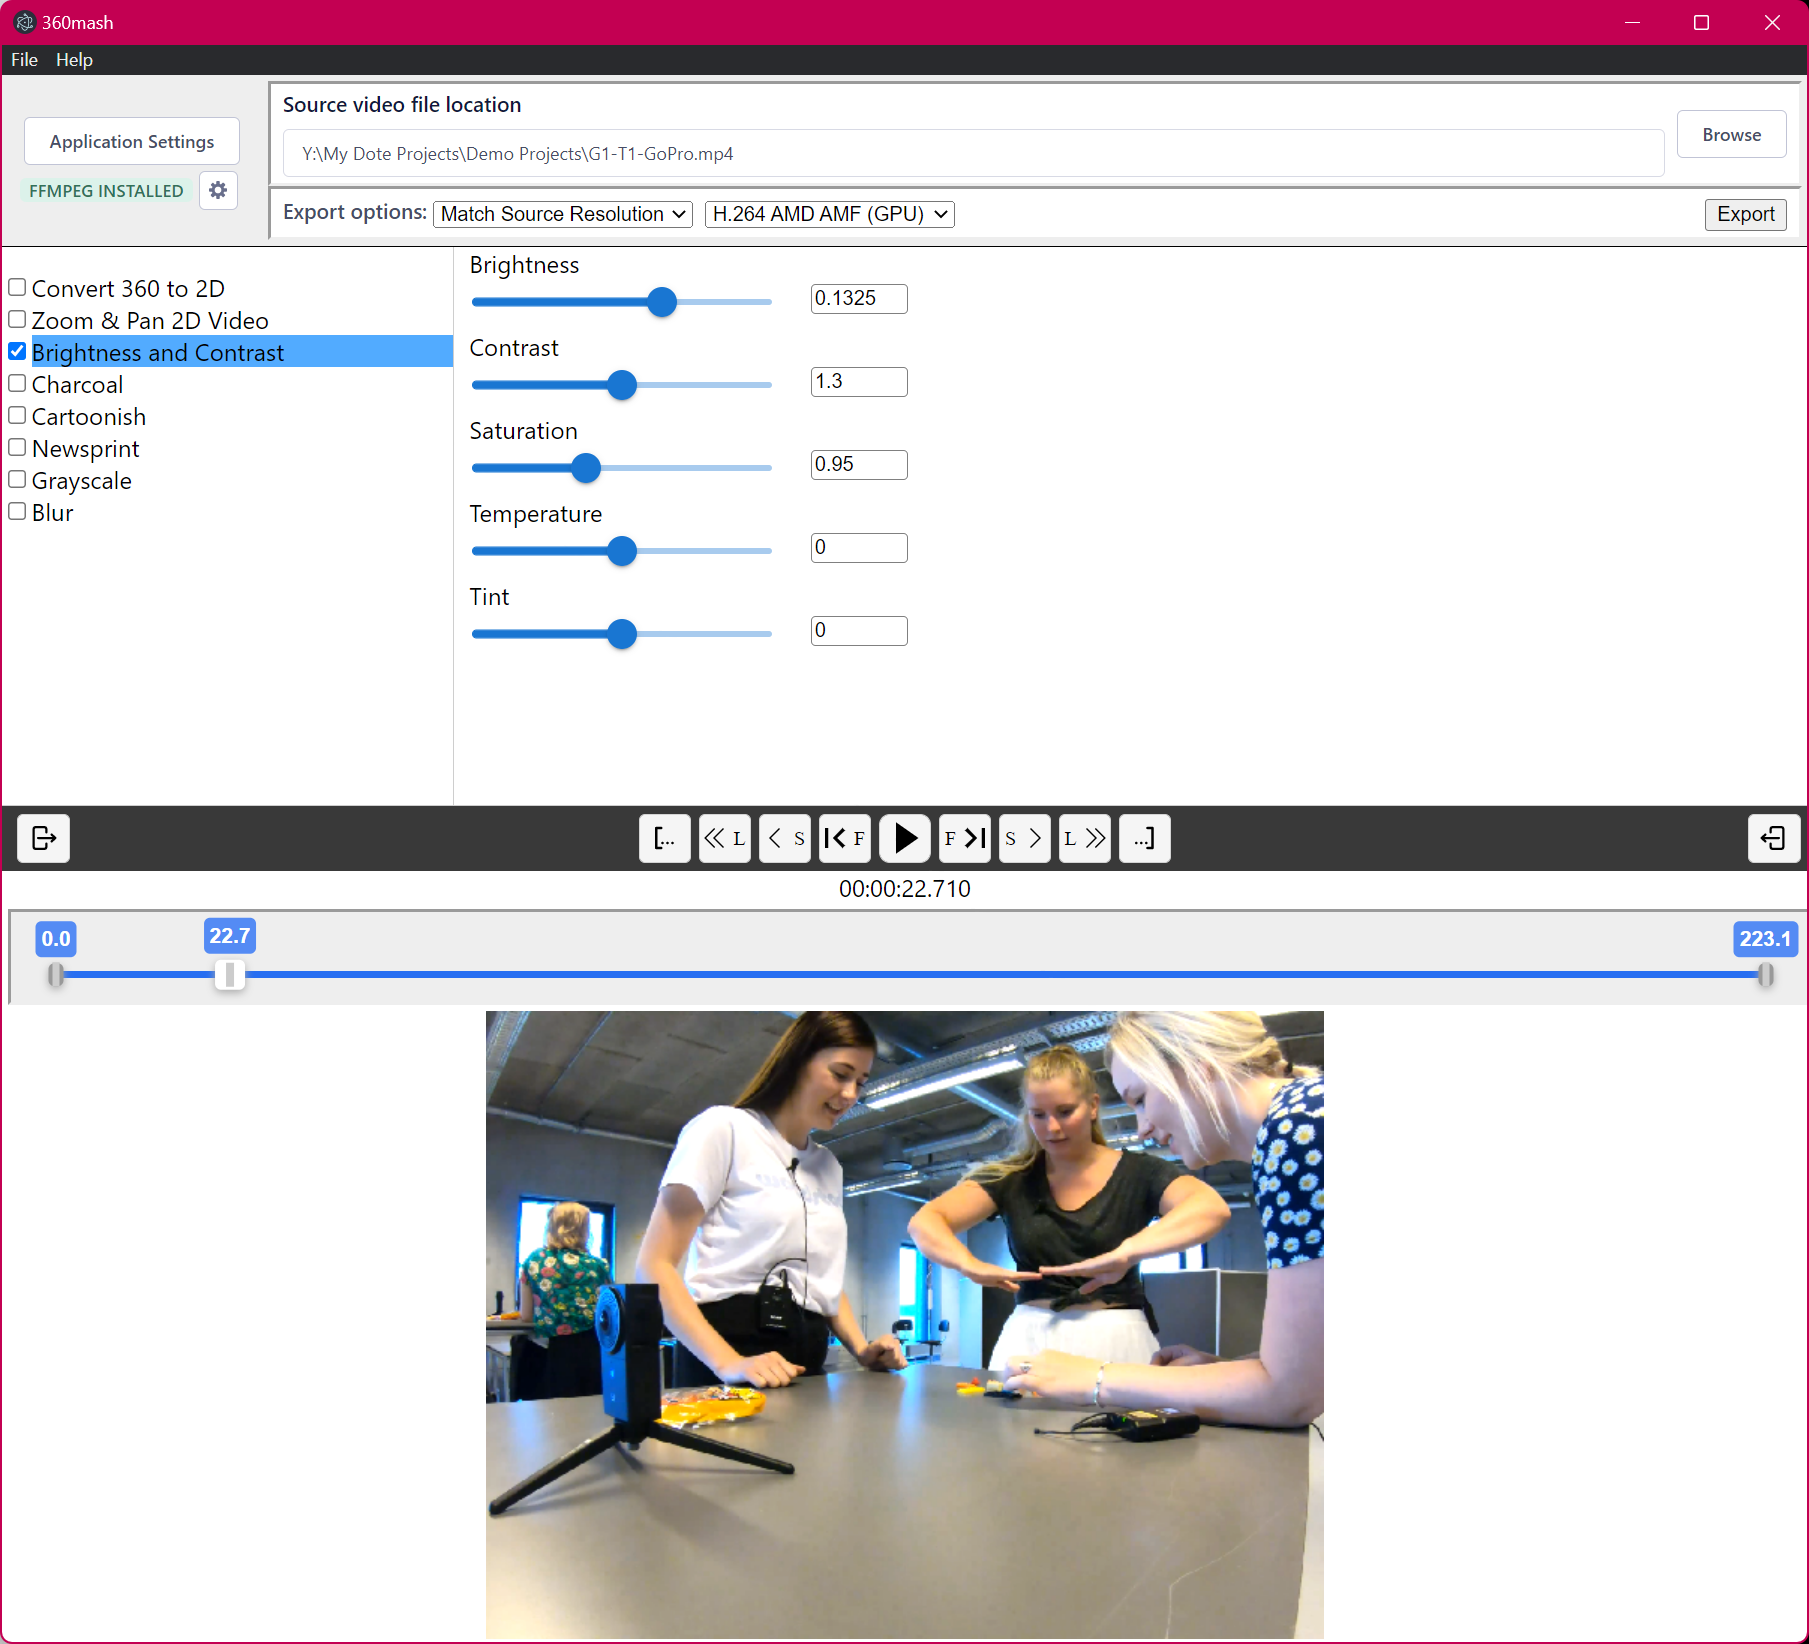
- Brightness and Contrast
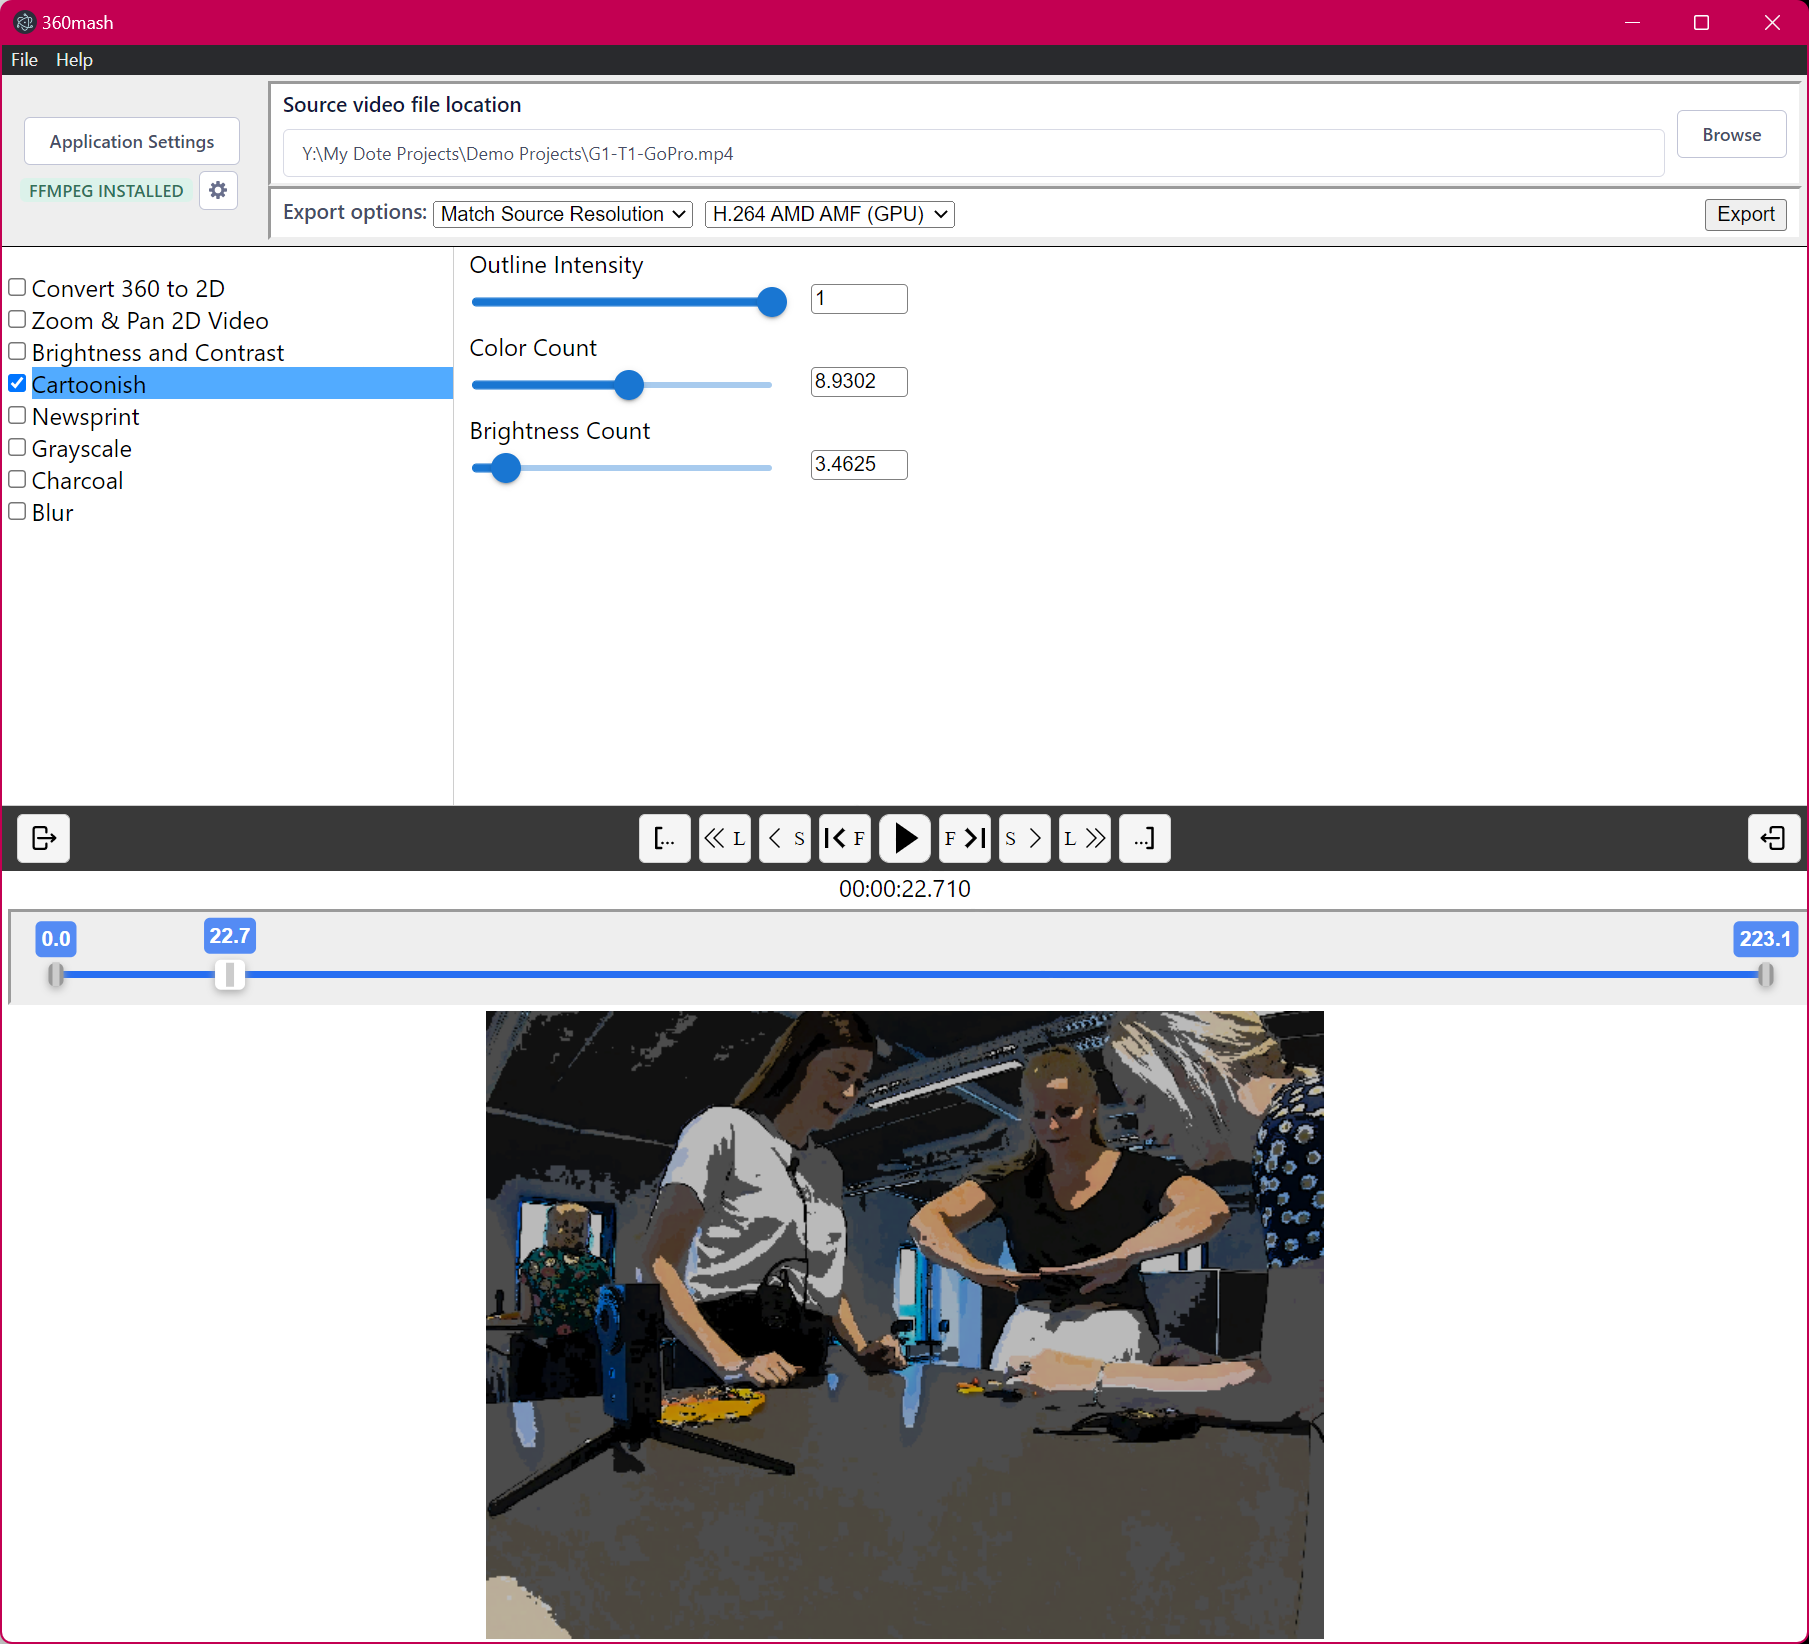
- Cartoonish
- Newsprint
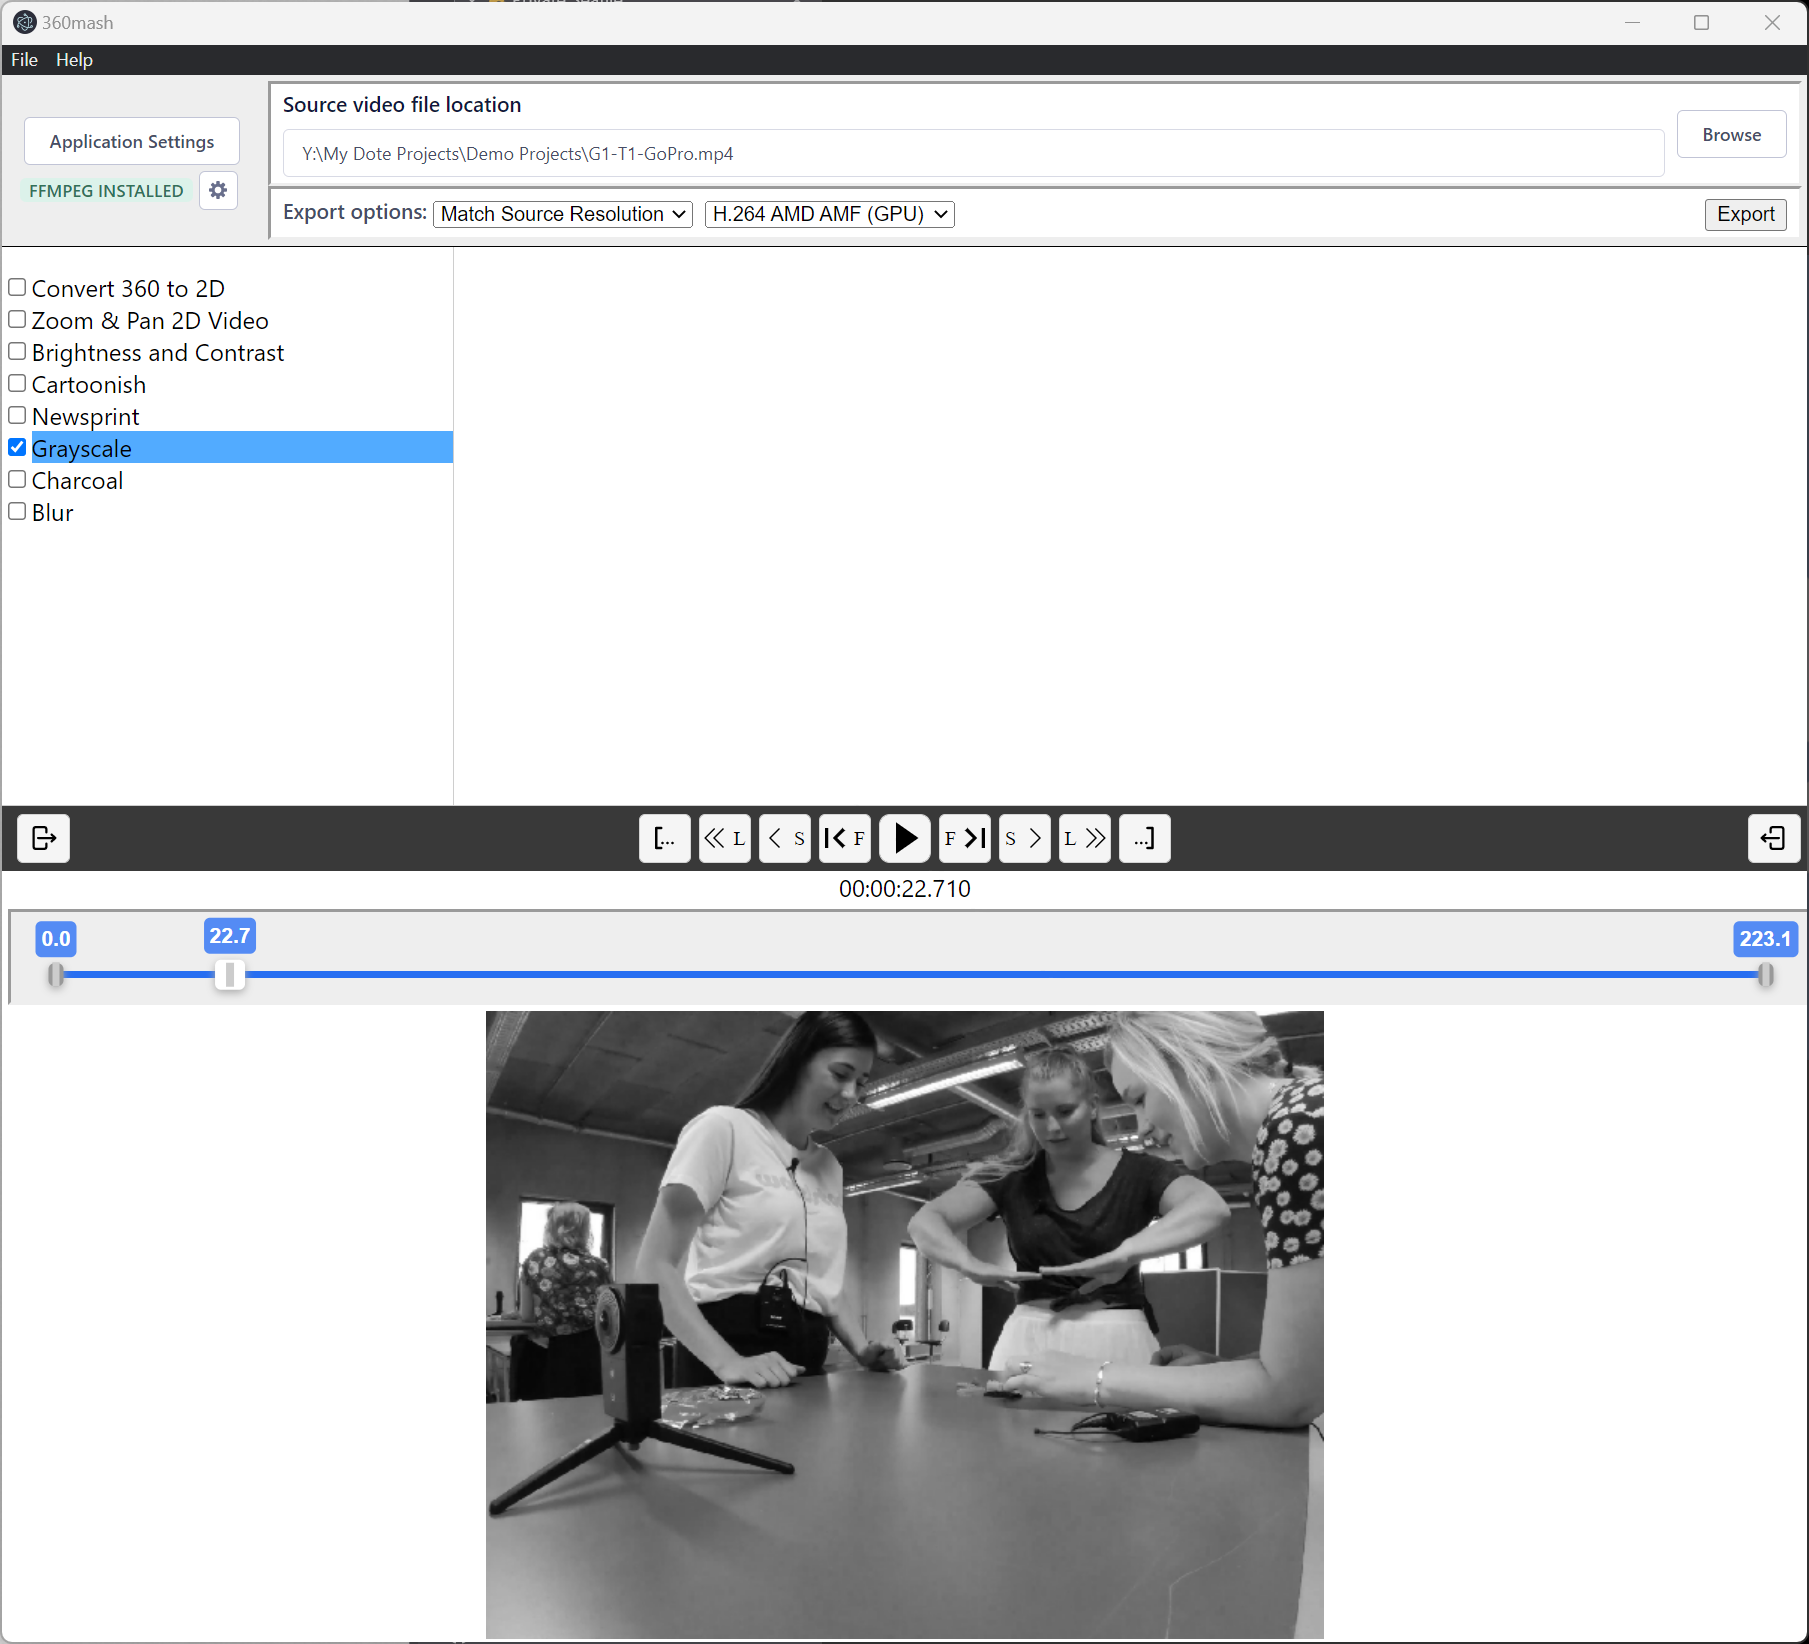
- Grayscale
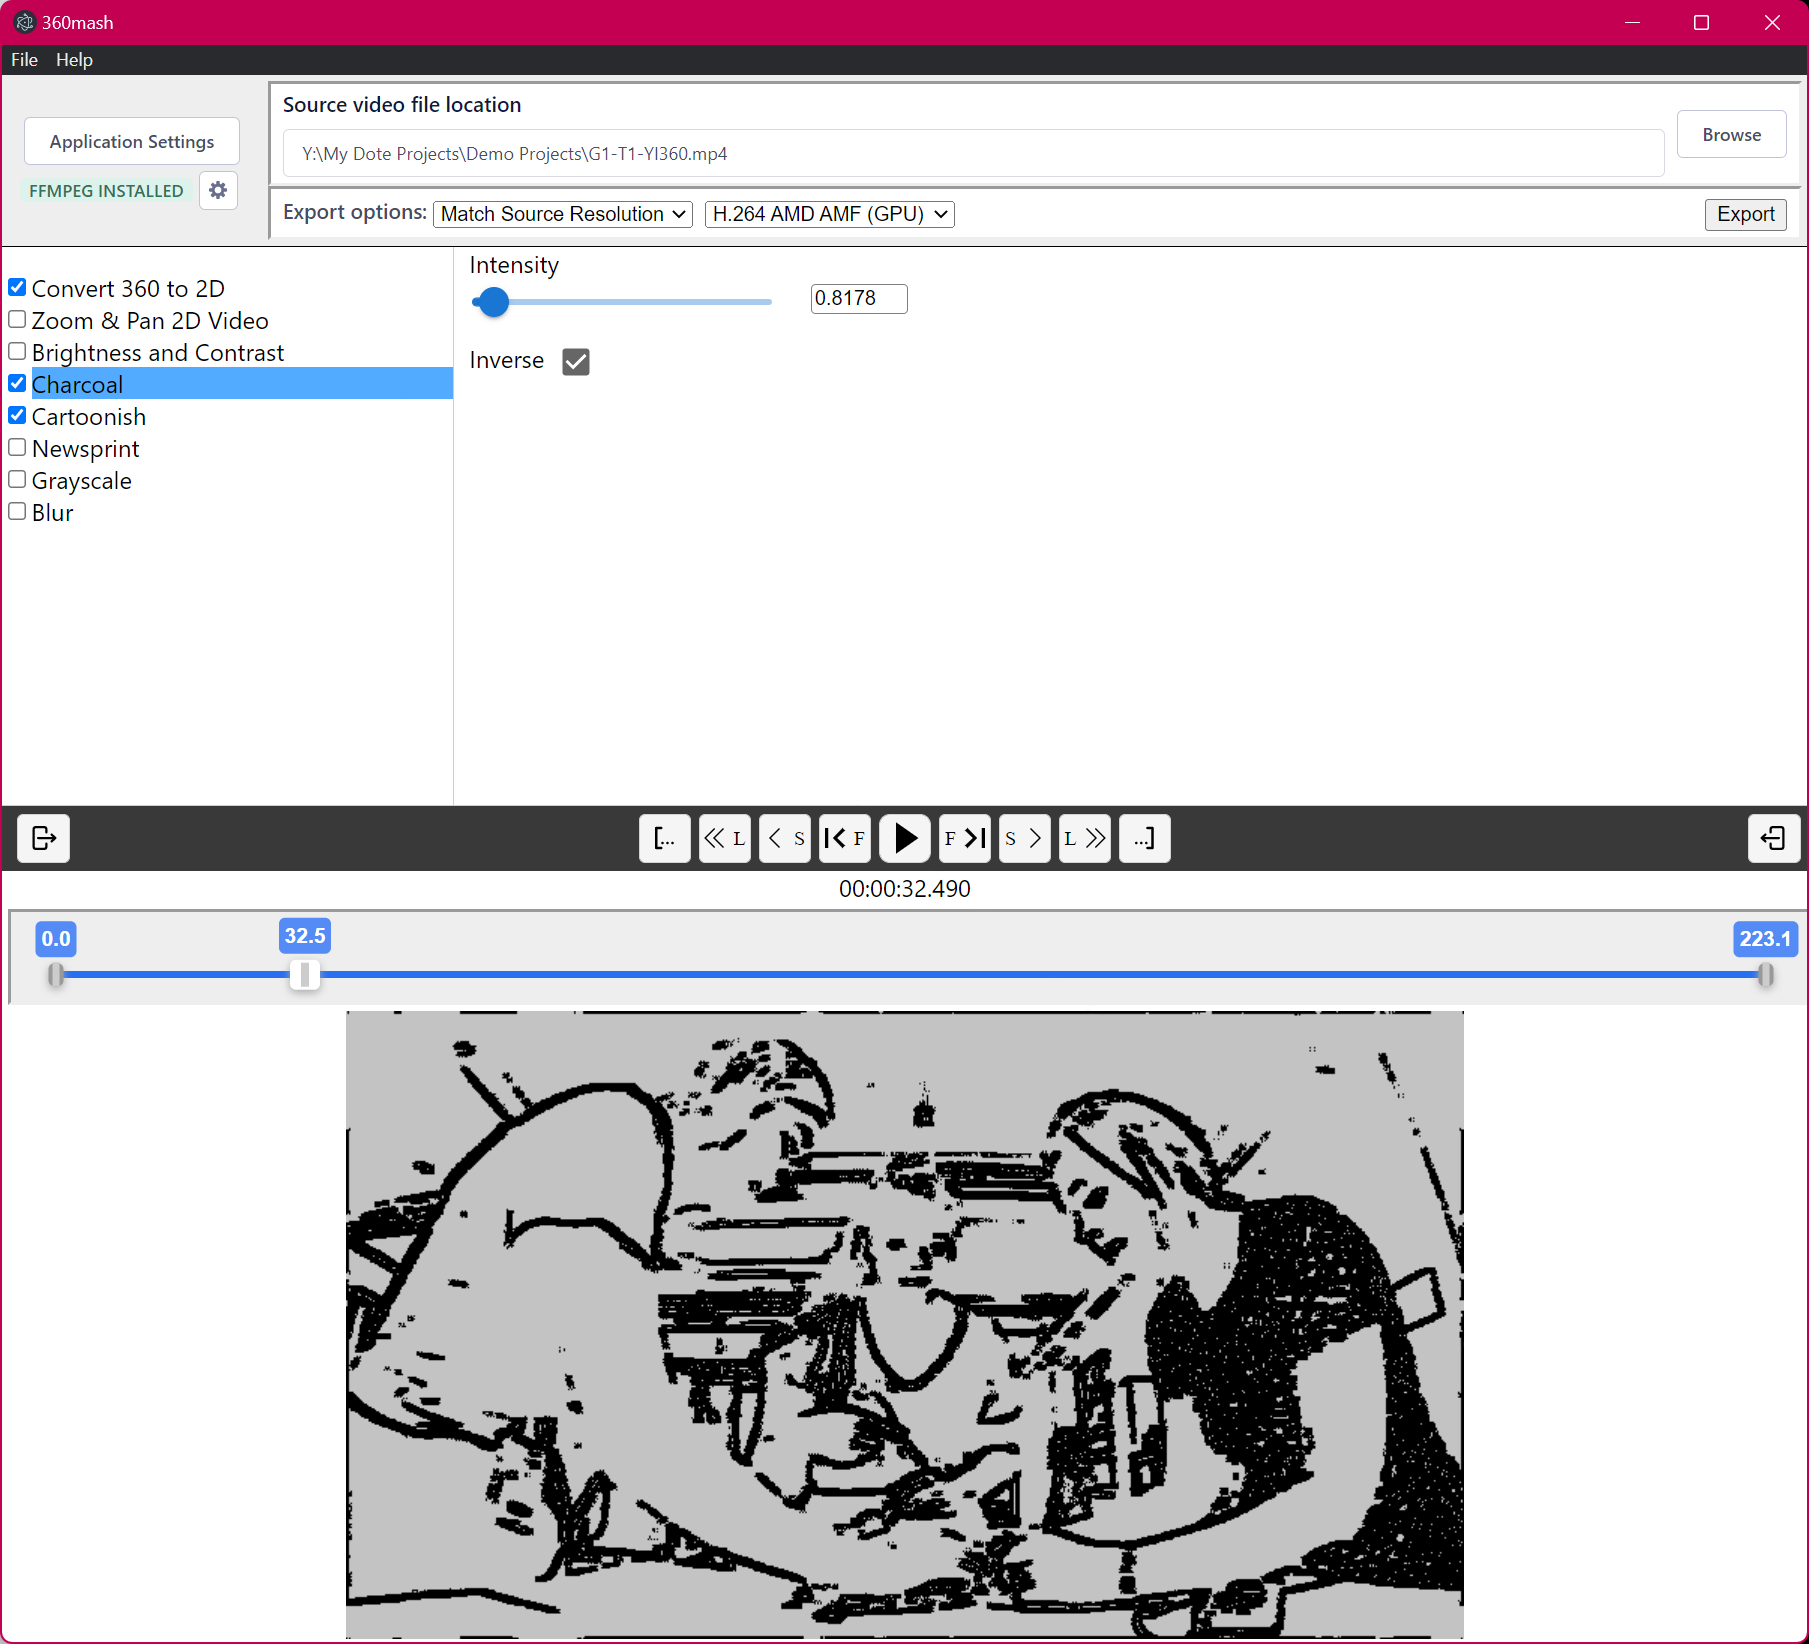
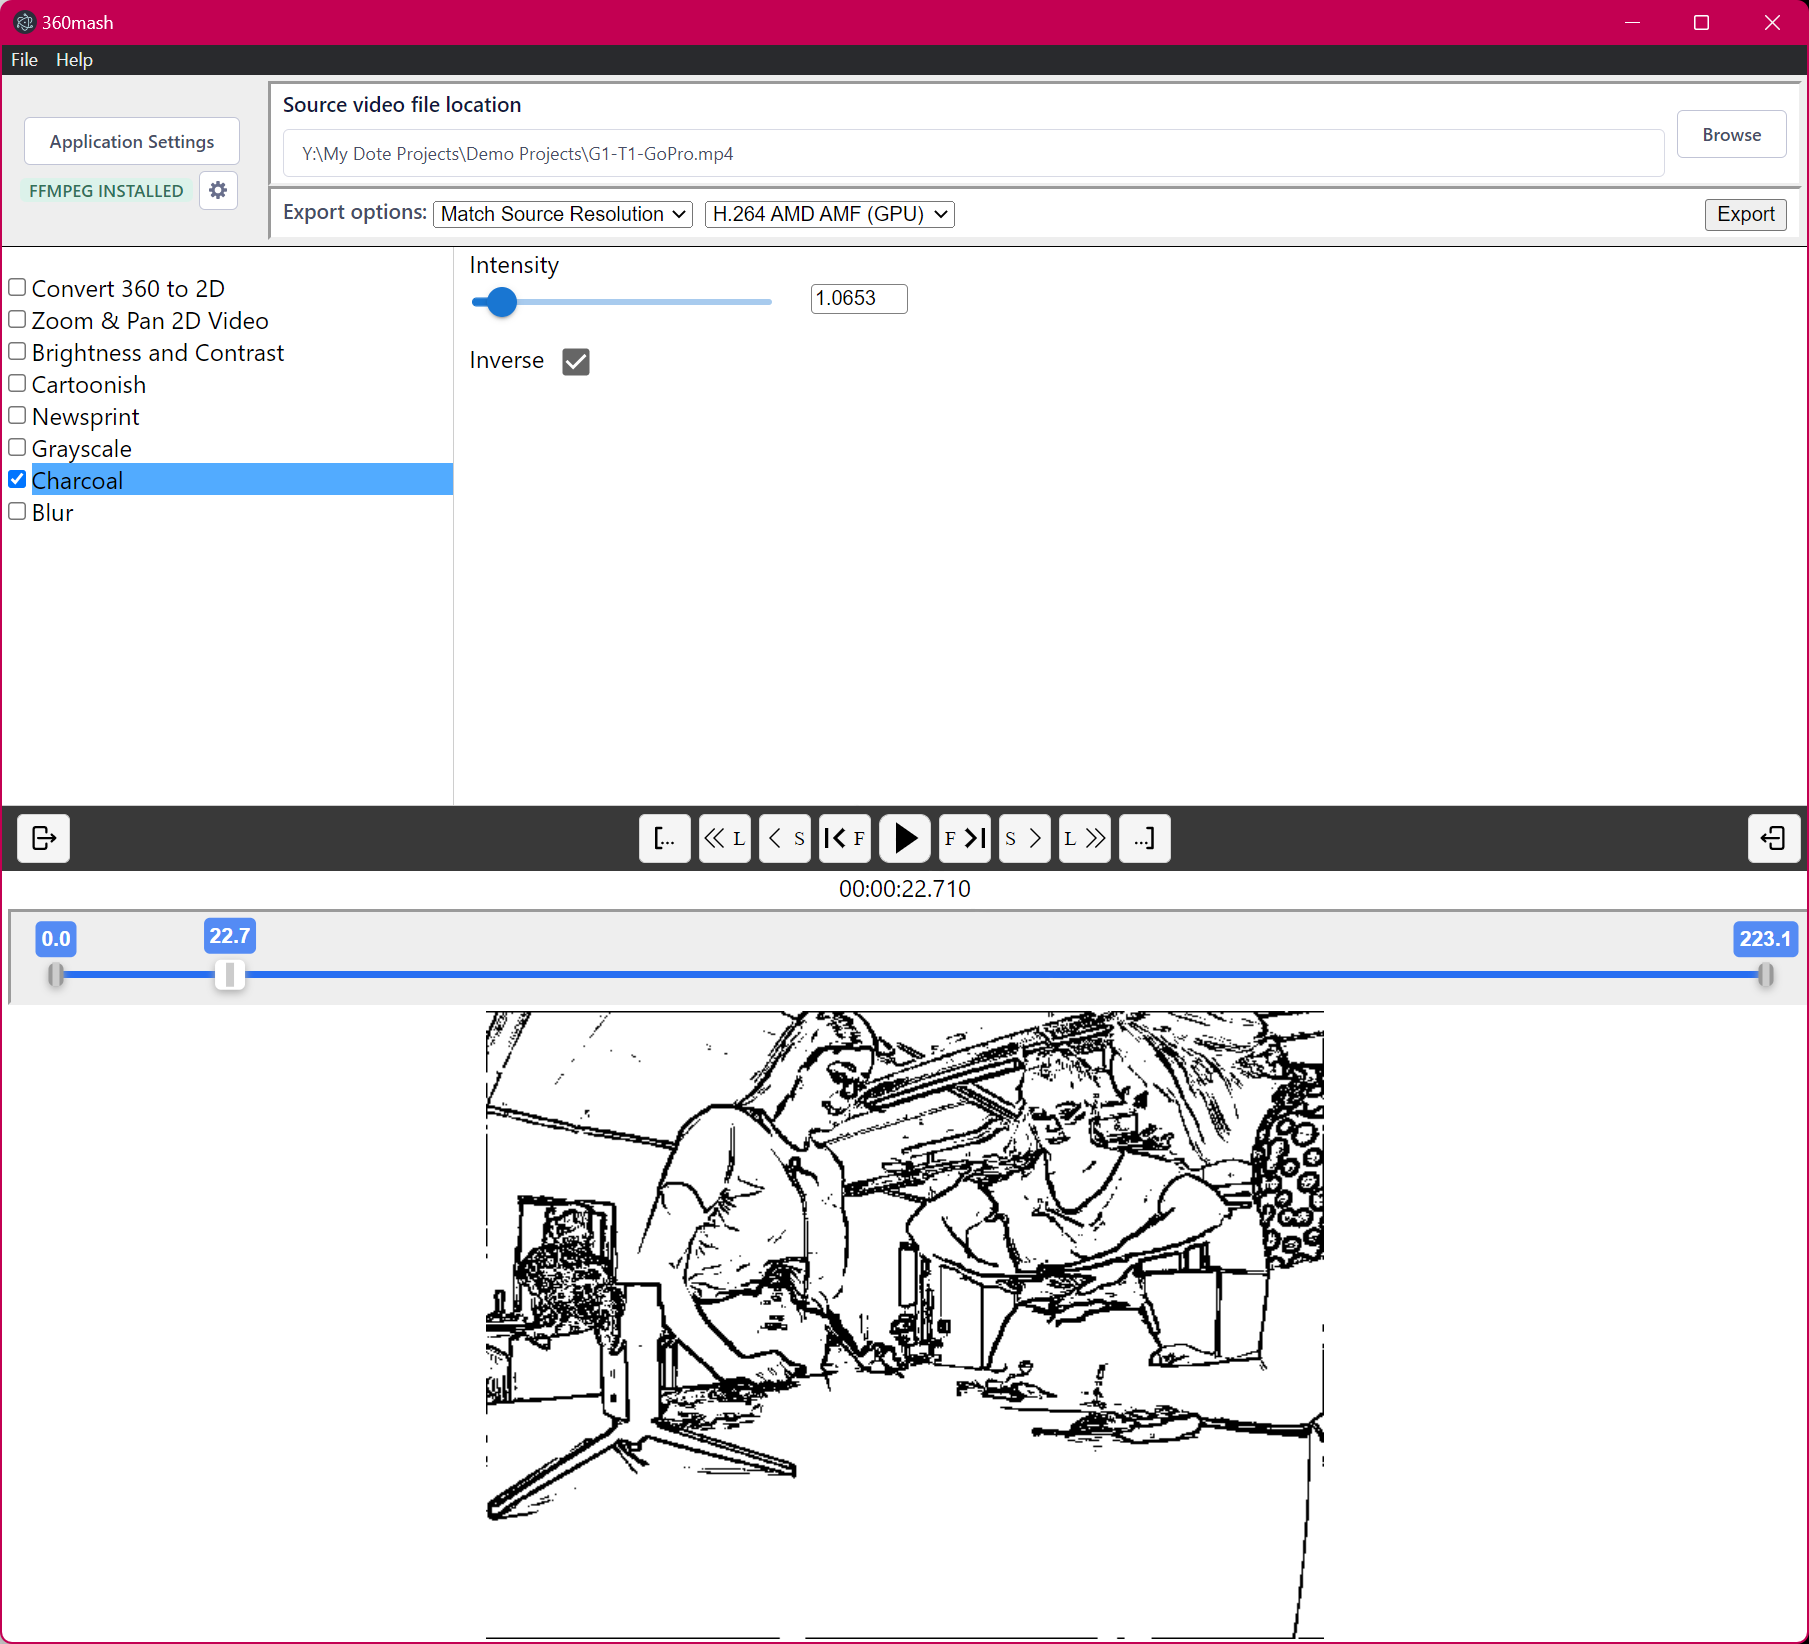
- Charcoal
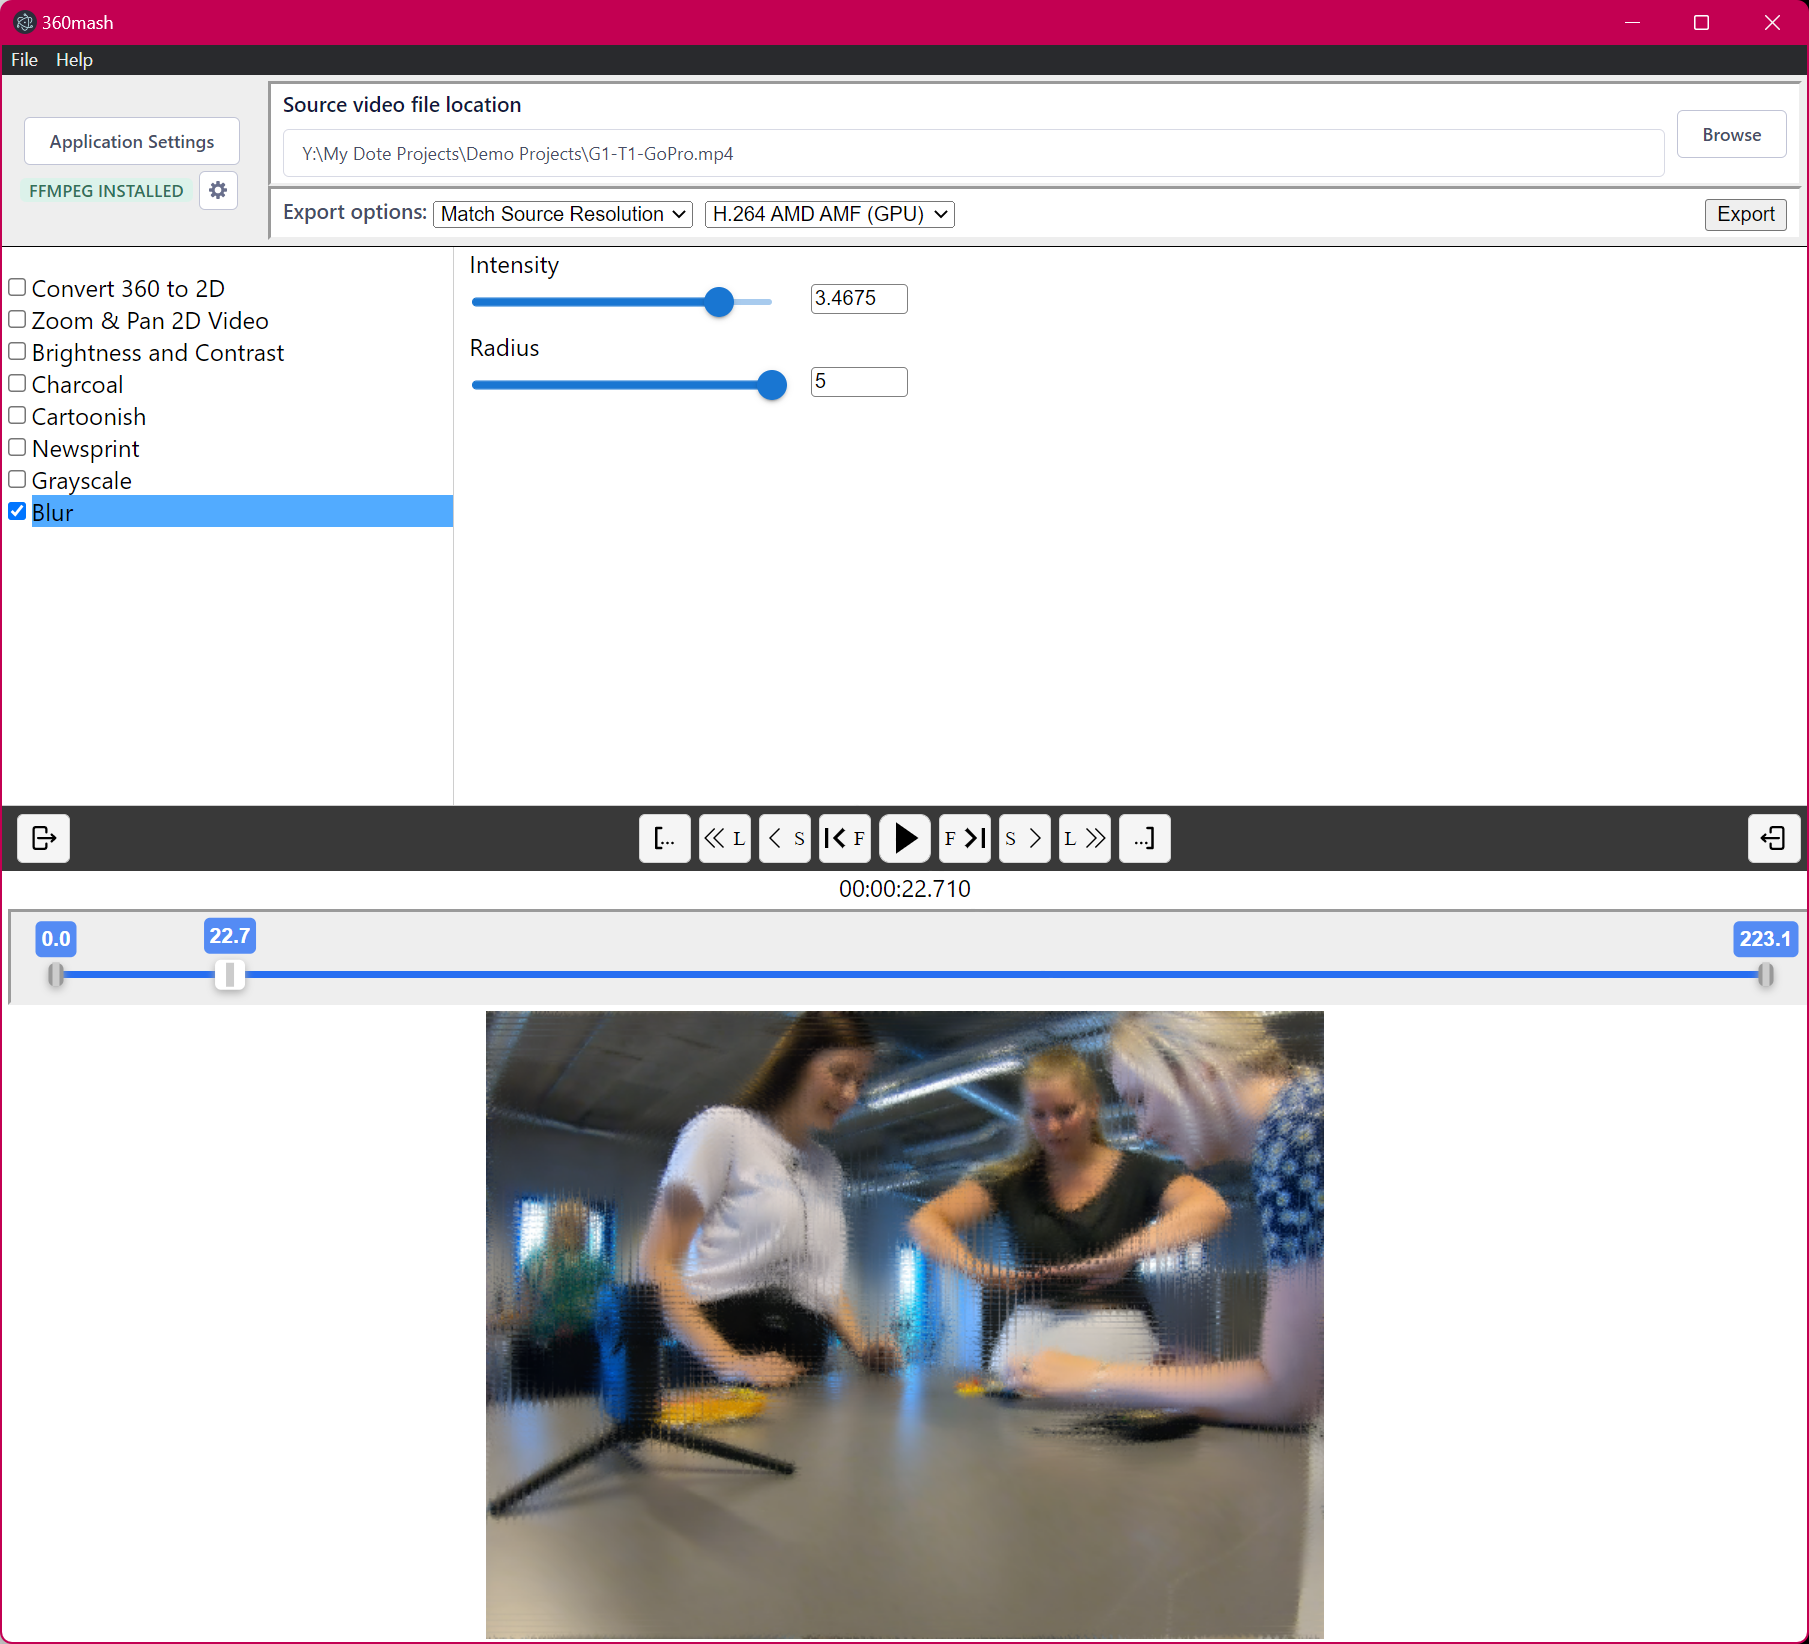
- Blur
How to apply and tweak filters:
- Click on a filter to open up settings for that filter.
- By default, all filters are turned off.
- Toggle them on/off to find the best combination and settings.
- Play around with the sliders to find the best result for your needs.
- Filters are applied in the order listed.
- Filters in the list can be dragged and dropped to make a different ordering of the pipeline. This ordering matters because a filter before or after another in the linear pipeline will create a quite different effect.
- Note that the
Convert 360 to 2DandZoom & Pan 2D Videotransforms cannot be moved from their default positions. They are not filters and should be applied first. - It is best to apply Brightness and Contrast before other filters.
- To export just the original video, turn off all filters before exporting.
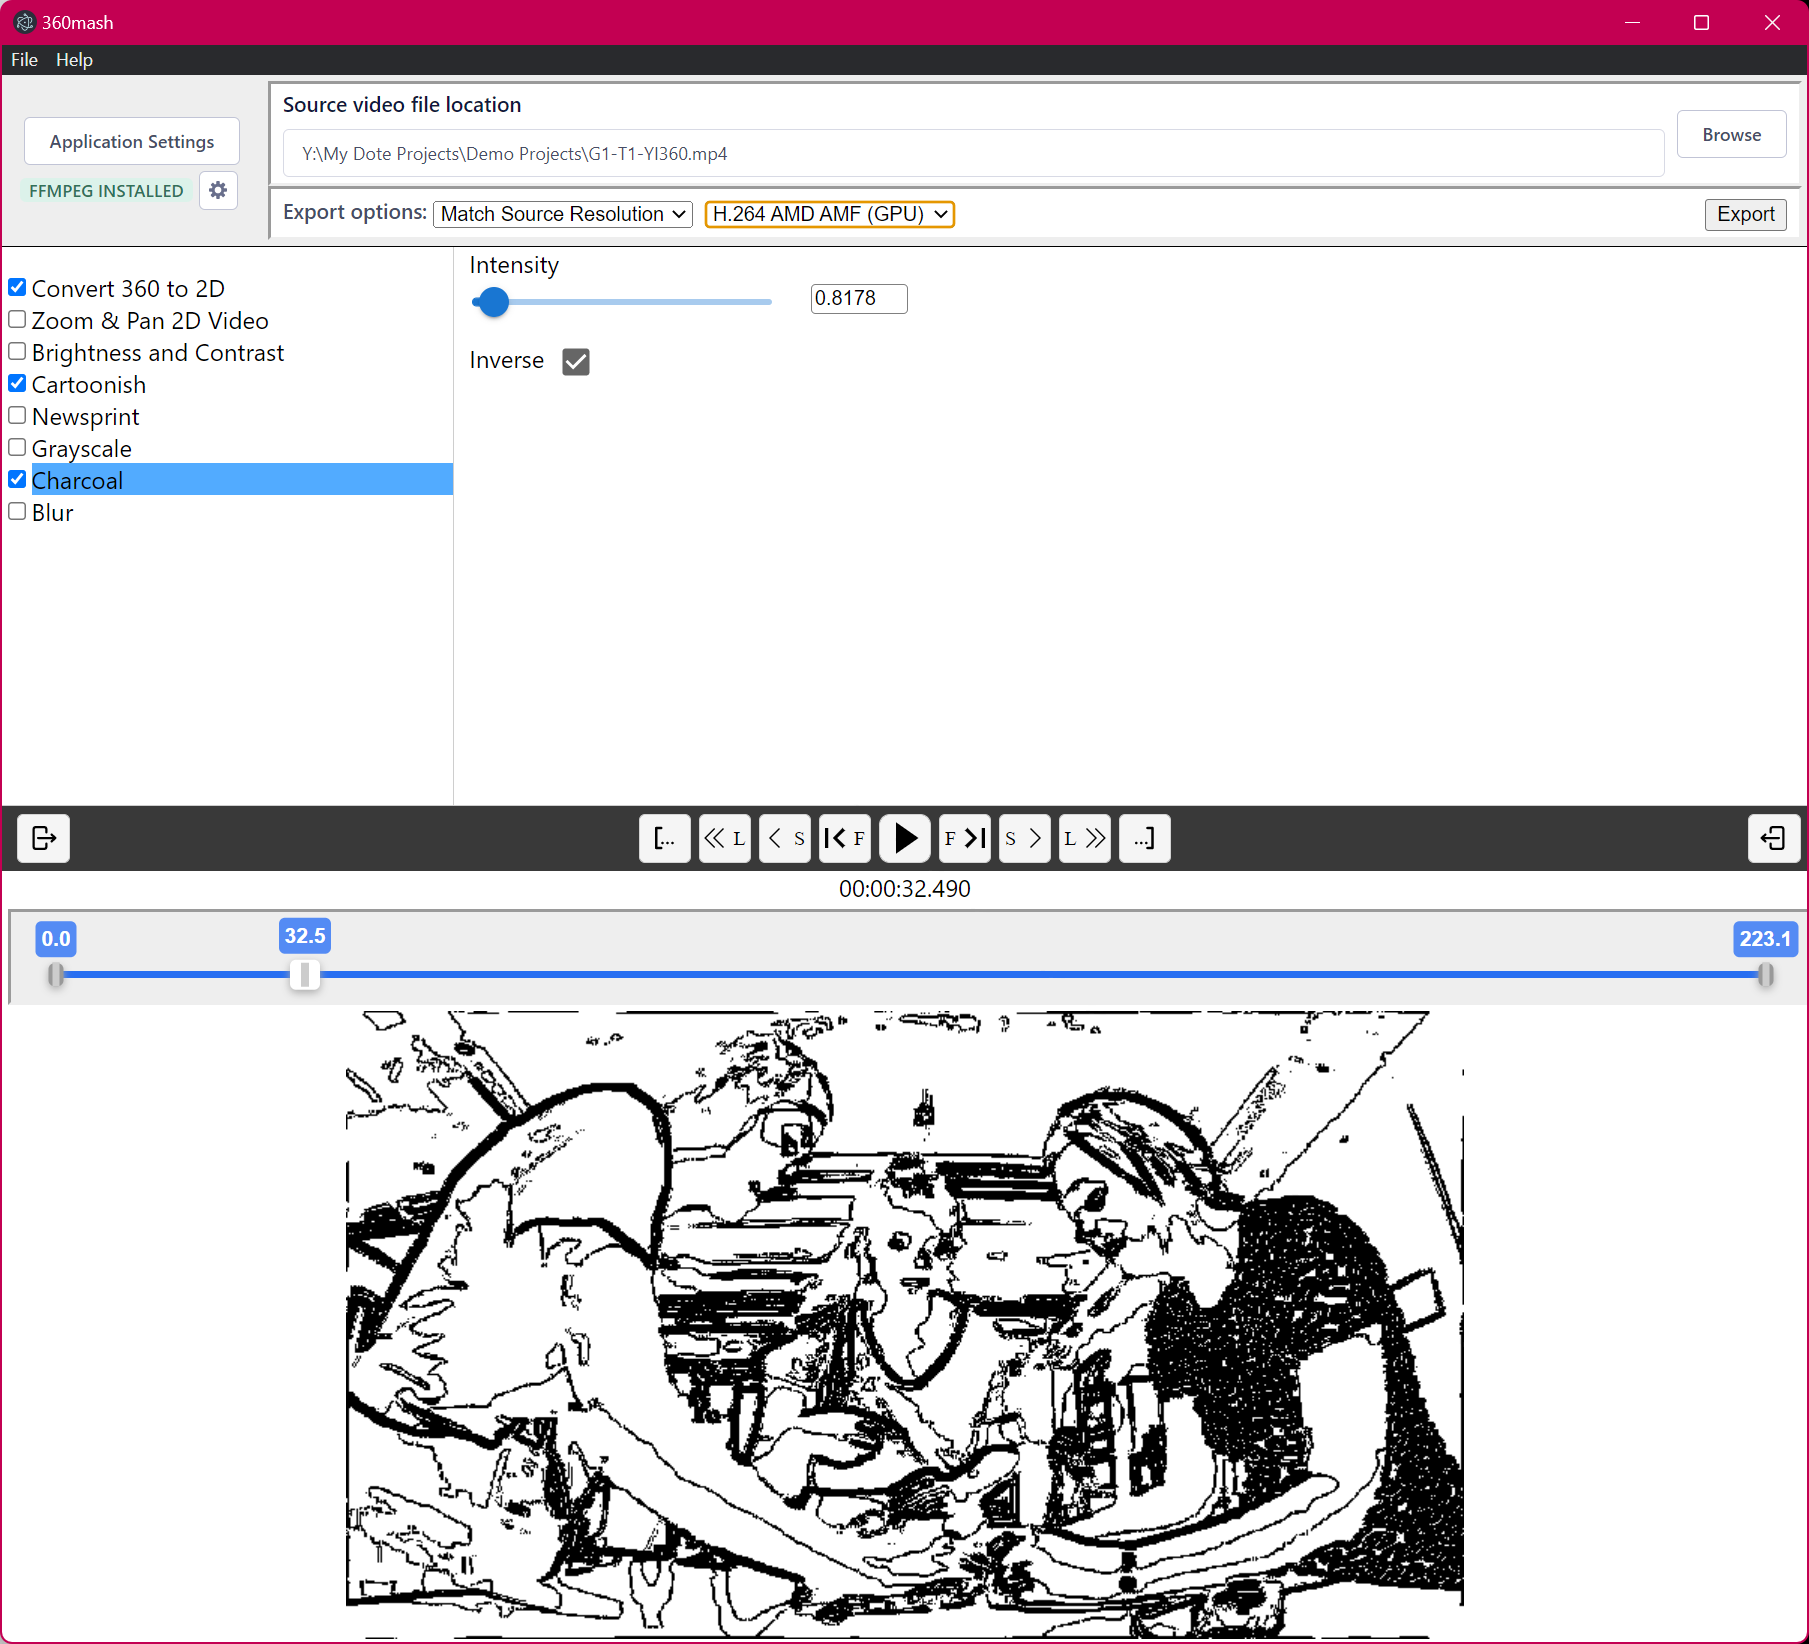
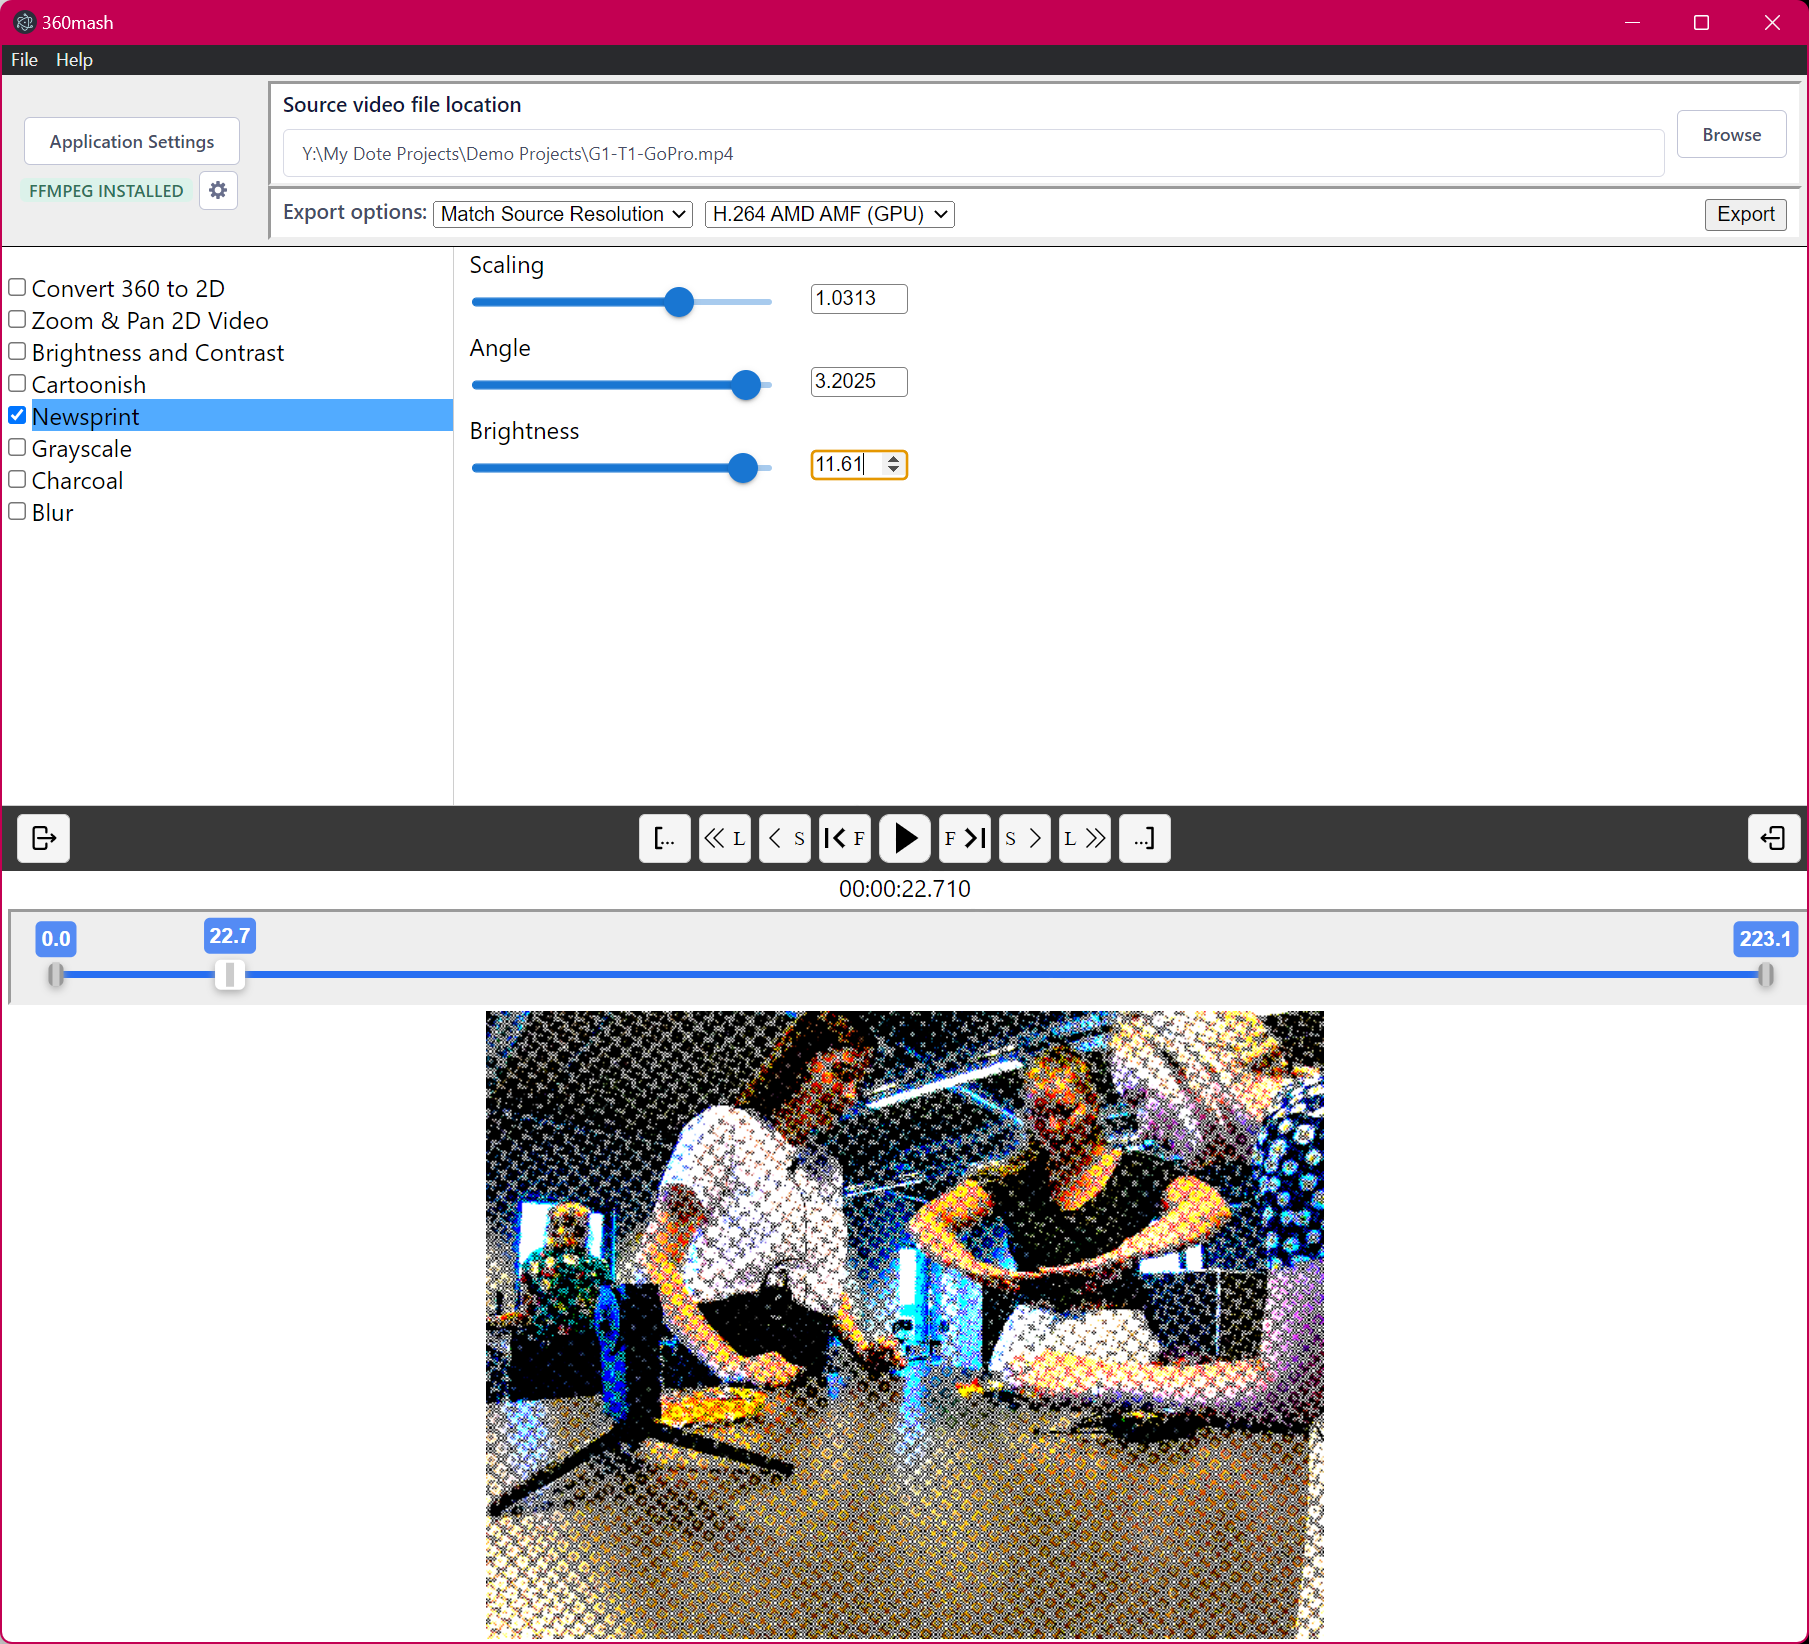
Here are two screenshots showing a change in the filter order in the pipeline:
Filter examples
Here are screenshots of each single filter applied to a 2D video:
How to export your video
Once you have selected your framing and filtering, then you can export the video to disk.
First you need to select the export resolution.
- The default is
Match Source Resolution, ie. identical to the resolution of the original video. - The other options in the drop down menu are "4K", "full HD", "HD", "480p".
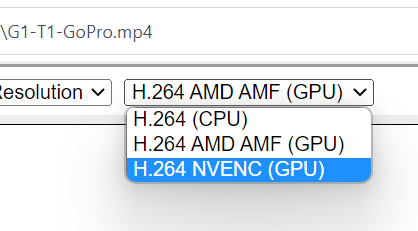
The software supports three methods of encoding for Windows 10/11 and two for MacOS:
Windows 10/11
H.264 (CPU)- this uses the CPU to encode a video file in the standard H.264 codec.H.264 AMD AMF (GPU)- this uses the AMD GPU on a Windows machine to encode. It can be much faster.H.264 NVENC (GPU)- this uses the NVIDIA GPU on a Windows machine to encode. It can be much faster.
If you do not have a computer with an AMD or NVIDIA GPU, then you can only export with the CPU option.
MacOS
H.264 (CPU)- this uses the CPU to encode a video file in the standard H.264 codec.H.264 Video ToolBox (GPU)- this uses the GPU on a MacOS machine to encode. It can be much faster.
- When you are ready, click the
Exportbutton. - An indication is given of time elapsed and time remaining.
- Click the
Cancel Exportbutton to forcibly terminate the export process and return to the main window.
Note that after exporting a video, the settings and filters can be edited and a new export started, but if a new video is imported or 360mash is restarted or crashes, then all previous settings and filters will be reset to default. We hope we further development the handling of exports will be more flexible and robust.
Expected Export Speeds
It is hard to be specific about export speeds, but the following gives some guidelines.
- Exporting a video with no filters, no change in resolution and no conversion from 360 to 2D is the fastest.
- Exporting with the AMD or NVENC GPU encoders is faster than with CPU. Not all computers support GPU encoding.
- Adding more filters slows down the encoding.
- Adding conversion from 360 to 2D slows down the encoding.
- Speeds of up to 24fps on a MacBook Pro and 19fps on a Windows NVIDIA GPU have been measured for plain export of a 2D video in 4K source/target resolution with no filters applied.
- Export speed (fps) may appear to rise with repeated exports in the same session. This is just the result of statistical averaging.
Problems
You may experience problems with importing and exporting some types of video files:
- If the export does not start, then restart 360mash and try different settings.
- It is important to enter the correct path names for
ffmpeg.exeand Output folders. - The export with
H.264 NVENC (GPU)encoding may fail on Windows machines if the NVIDIA drivers are not updated. Update the drivers from the NVIDIA website or from the NVIVIDA Experience app appropriate for your computer and GPU. - If you have any other problems, then let us know in the
#360mash-discussionchannel on our Discord server or create a new issue on GitHub.
How to contribute to the code
If you wish to contribute to developing 360mash, then go to the 360mash public repository with the codebase for open source development on GitHub.
360mash is released under a CC-BY-SA 4.0 license.
Video images
The video images shown in the screenshots in this help guide are derived from our LEGO demo project. The demo project is freely available under a Creative Commons Attribution Non Commercial Share Alike 4.0 (CC BY-NC-SA) International license. The original data is published online.
Maintainers
360mash is maintained by the BigSoftVideo team at Aalborg University.

