Demo project
If this is your first time, we would like you to try out DOTE using our demo LEGO project. The demo project is freely available under a Creative Commons Attribution Non Commercial Share Alike 4.0 (CC BY-NC-SA) International license license. The original data is published online. We make no claim that the demo transcripts are authoritative or complete; they are simple illustrative of some of the core functionality of DOTE.
Here are some instructions to import the Demo Project
- Download the latest Lego Demo Project file and store it somewhere on your computer. Earlier releases of the Demo project can be found on our public GitHub repository.
- Open DOTE and select
File ➔ Import Project from File. - Locate the Project file that you downloaded (with the extension
.doteProject) on your file system and clickOpen. - Select a destination directory/folder by clicking
Select Directory. For example, a folder in yourDocumentscalledMy DOTE Projects. - Enter a name for your imported Demo Project or select the default name.
- After you have imported the Project, you can open one of the Demo Transcripts in that Project using
Open TranscriptorFile ➔ Open Transcriptor CTRL+O [or ⌘+O on macOS] using theProject Manager. There are seven Transcripts to choose from, though some only work properly with the Pro Edition. - The Transcript should open, and you will see the waveform, video and prepared Transcript.
NOTE: Do not store the Demo Project in the same folder tree as the DOTE application itself. Please see the Where to store your DOTE projects? help section for more information on solving issues when using remote folders (Windows) and volumes (macOS) for storing projects.
What is contained in the Lego Demo Project?
The Lego Demo Project contains the following media and Transcripts:
- Six synchronised media sources (see Media Manager), including 2D video, 360-degree video and wireless mic audio.
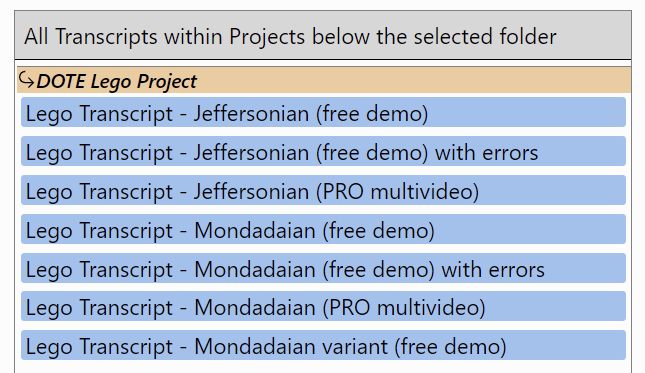
- Seven alternative transcripts:
- Transcripts that work with the free Edition of DOTE. This is because there are restrictions on the number (2) of media sources that can be activated per Transcript. Thus, playback following video-cues is limited to just two active videos.
- Transcripts that only work with the Pro Edition of DOTE. All media sources can be activated, and there is no limit to selecting media sources and switching between active videos using video-cues.
- Transcripts that have discoverable errors.
- A Transcript following an alternative version of the Mondadaian conventions.
How to try the Demo
In the Demo Project, there are several examples of Transcripts of the same event made following two different conventions.
- Open each Transcript.
- You can play through the video and check the two partial Transcripts that have already been made according to Jeffersonian and Mondadaian conventions.
- The Transcripts already have some sync-codes and video-cues that should work automatically when you play the video or click on the sync-code either in the appropriate timeline or the editor panel (sync-codes). Test them to see the result.
- Try some of the DOTE functionality yourself:
- Try the playback controls and looping.
- Edit the transcript, type some text and transcription symbols.
- Add speakers and see how DOTE autocompletes.
- Add sync-codes and video-cues.
- Peek at checkpoints and autobackups.
This is useful for the transcripts included in the Demo that have known errors.
Note: You need to install
Gitfirst (see Installation instructions). - Create your own checkpoint after making some changes.
- If you make changes, remember to save the Transcript regularly
File ➔ Save Transcriptor CTRL+S [or ⌘+S on macOS].
Spot the errors!
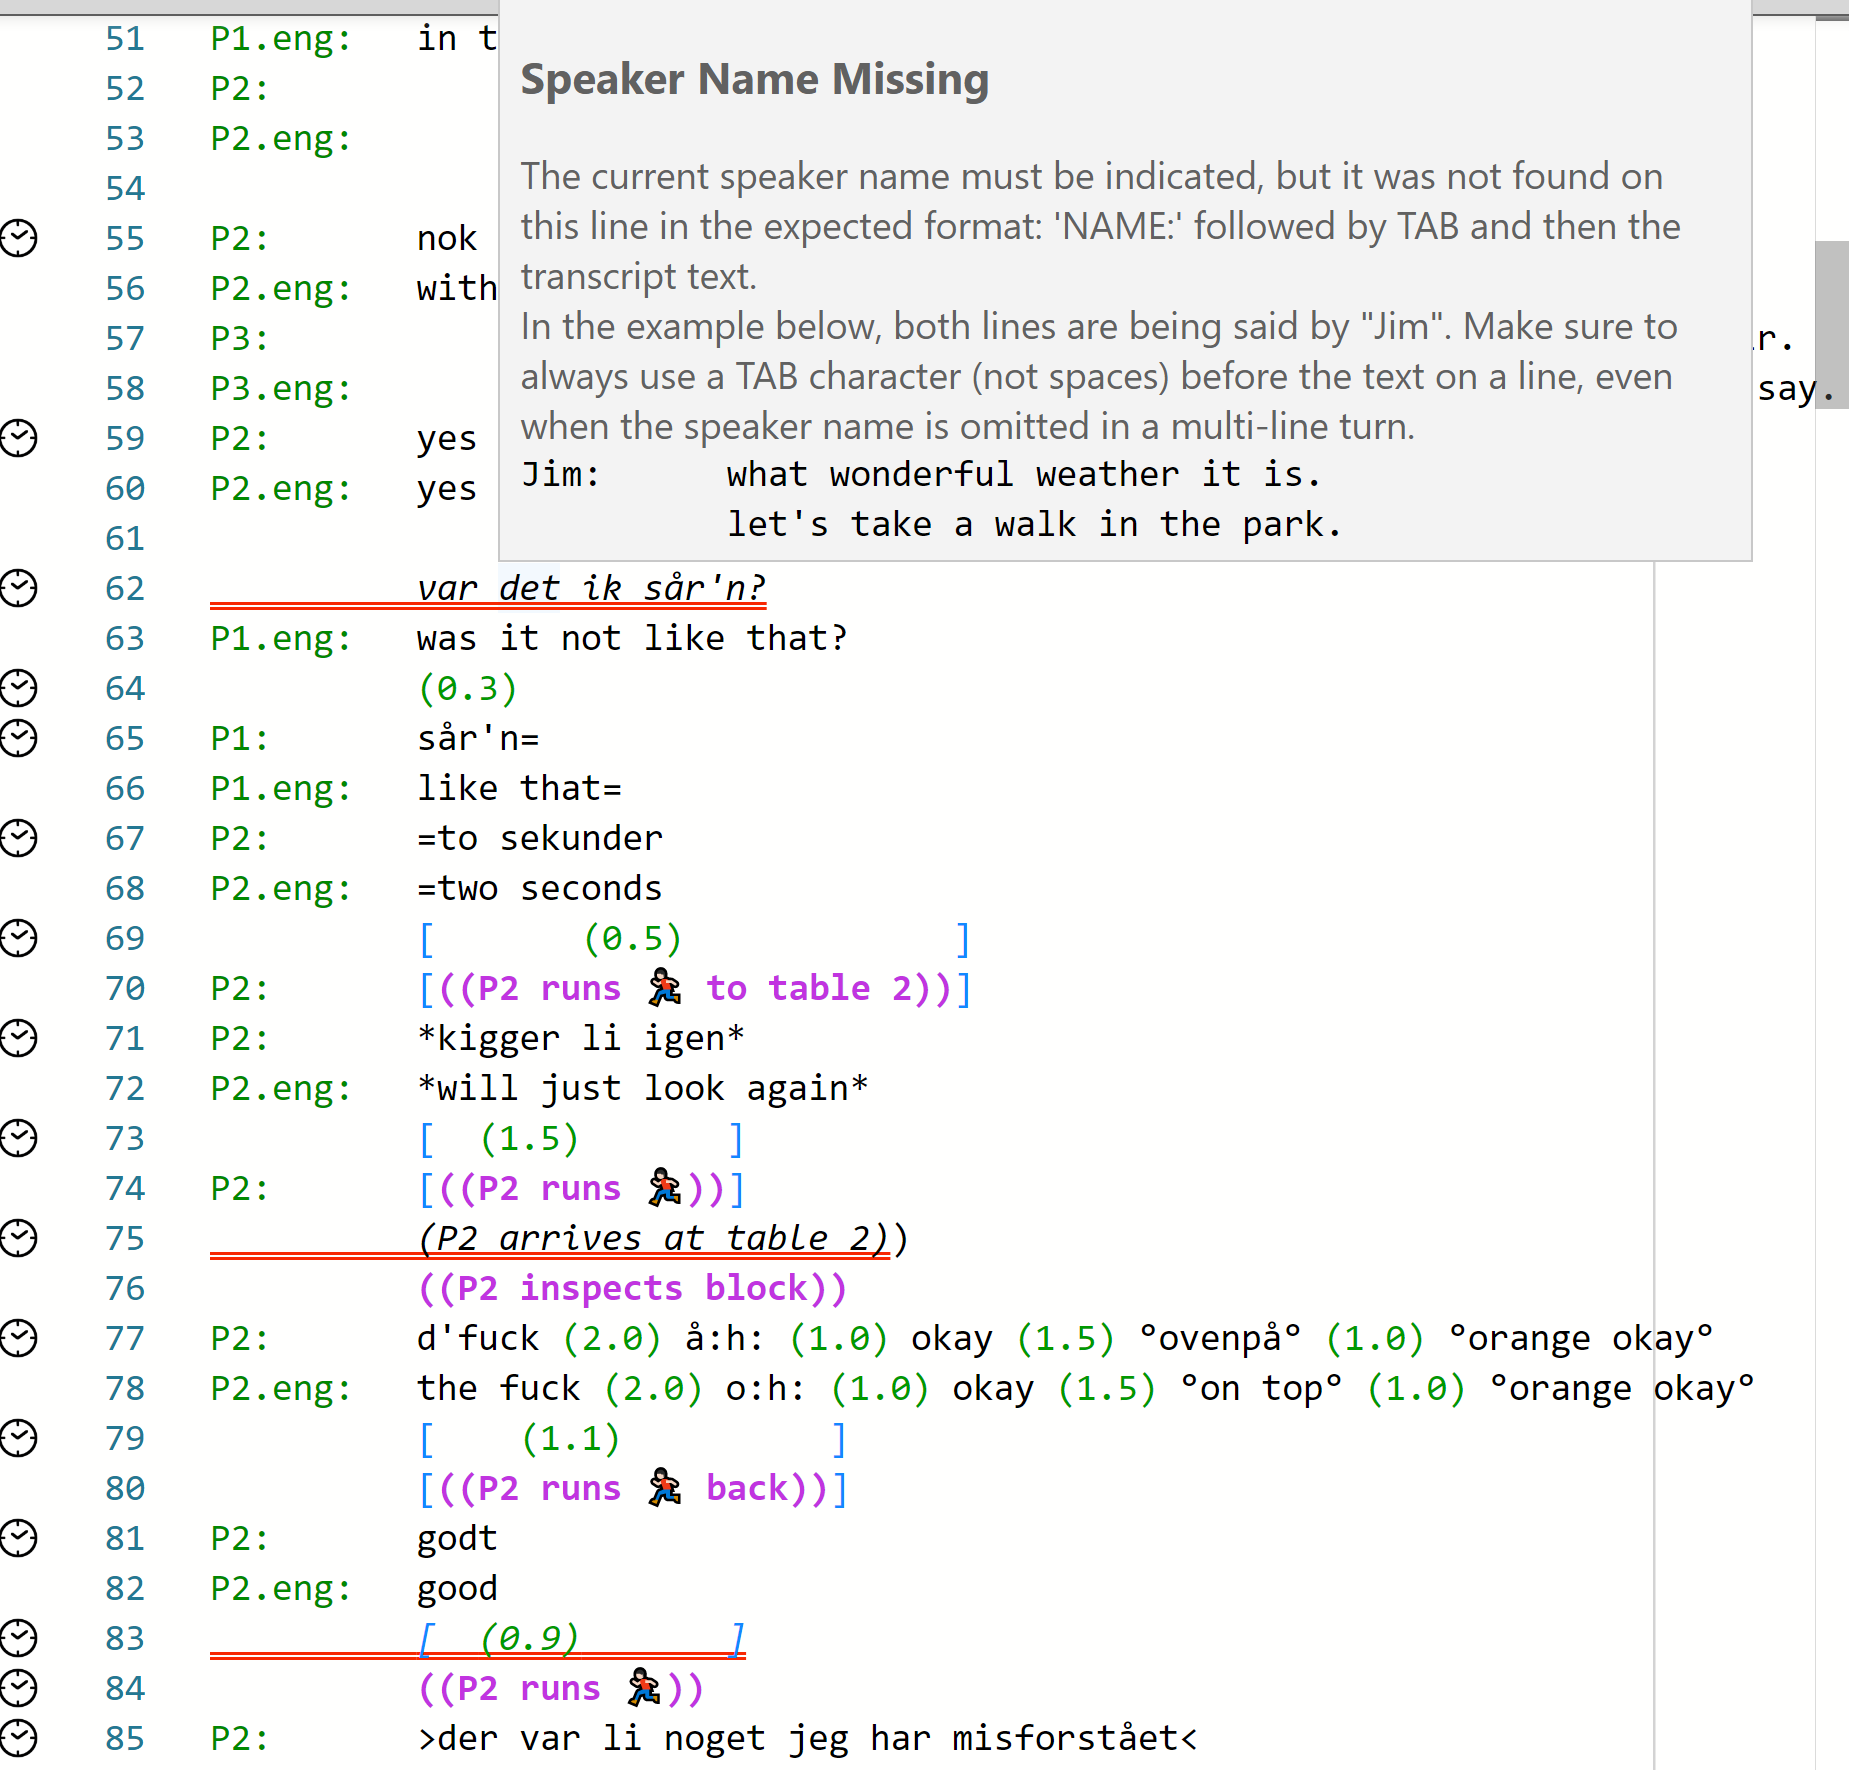
As a bonus, some of the Transcript versions included in the Demo contain deliberate errors. It is a fun game to spot the errors (DOTE will help you) and correct them.
- Open each Transcript with errors and find/correct the errors. The errors in the Mondadaian version are harder to find, since they may not all appear in the Editor.
- The task can be made harder (eg. without help from DOTE) by toggling off errors and warnings!
- If you have set up Checkpoints, then you can peek at each Checkpoint (cheat sheet) to see a description of the error and a comparison with the original to show the changes that made the error.
- This game is fun to play with the family during seasonal holidays! 🥳


